
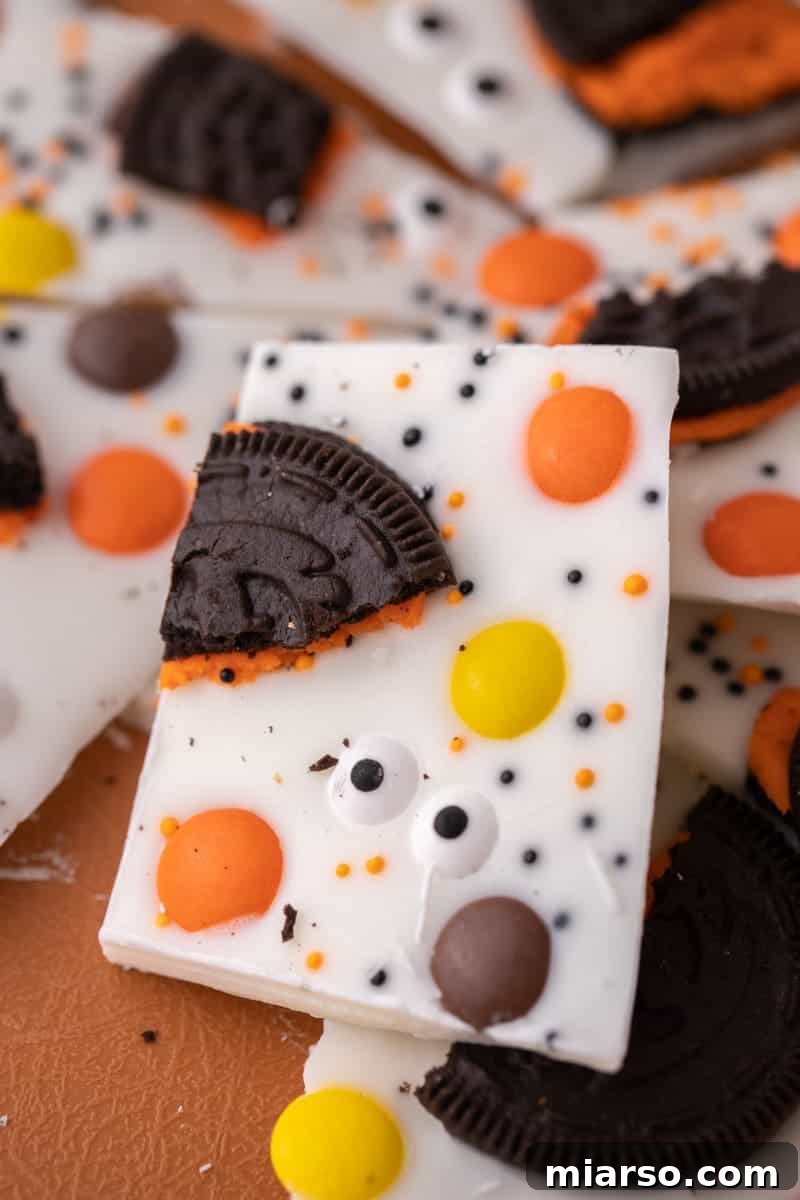
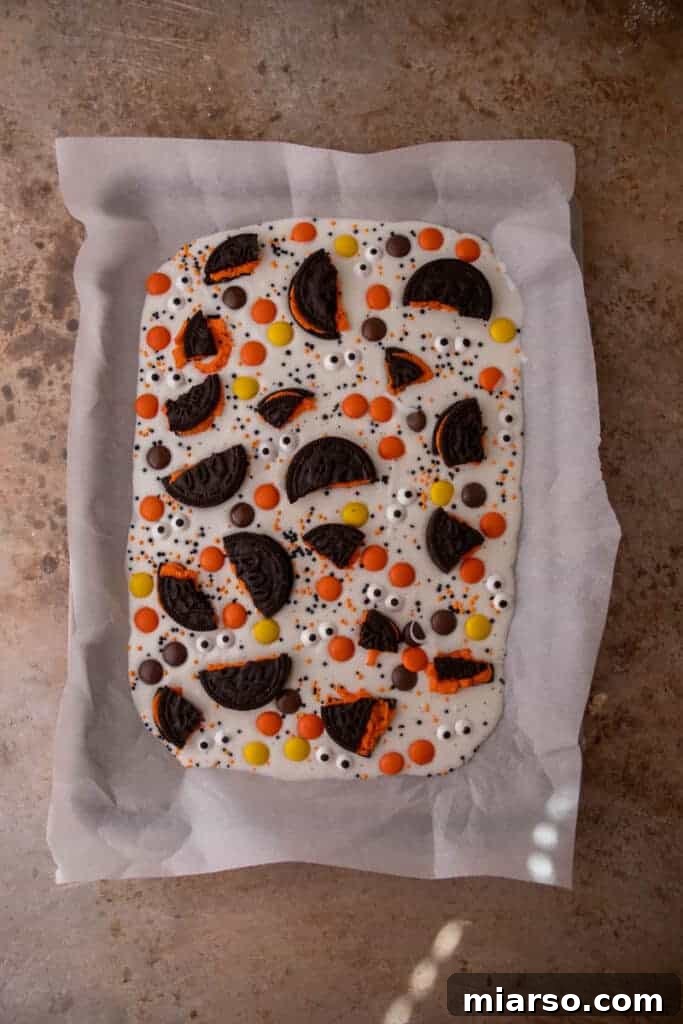
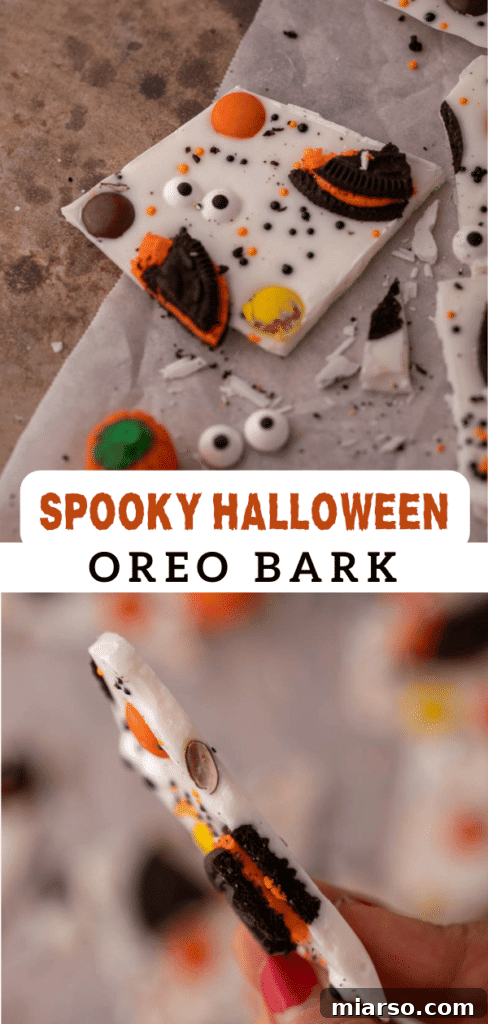
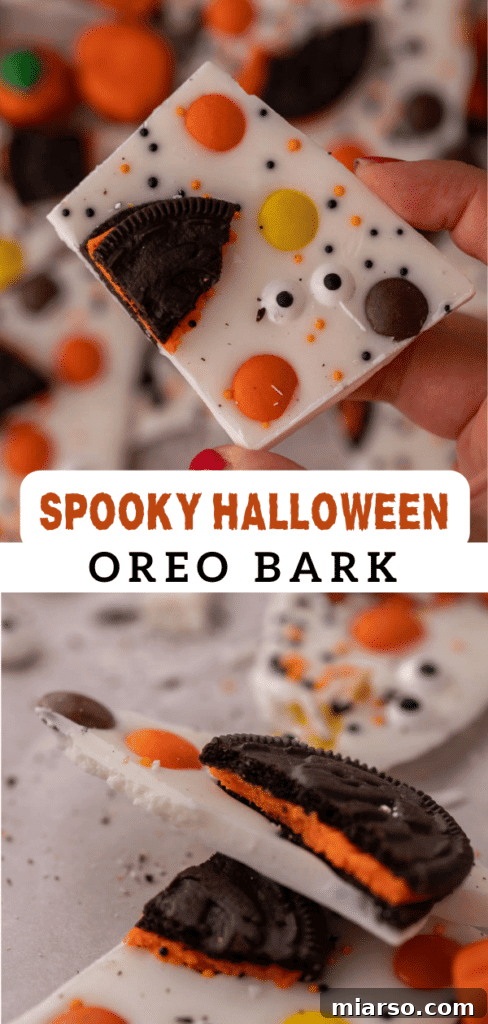
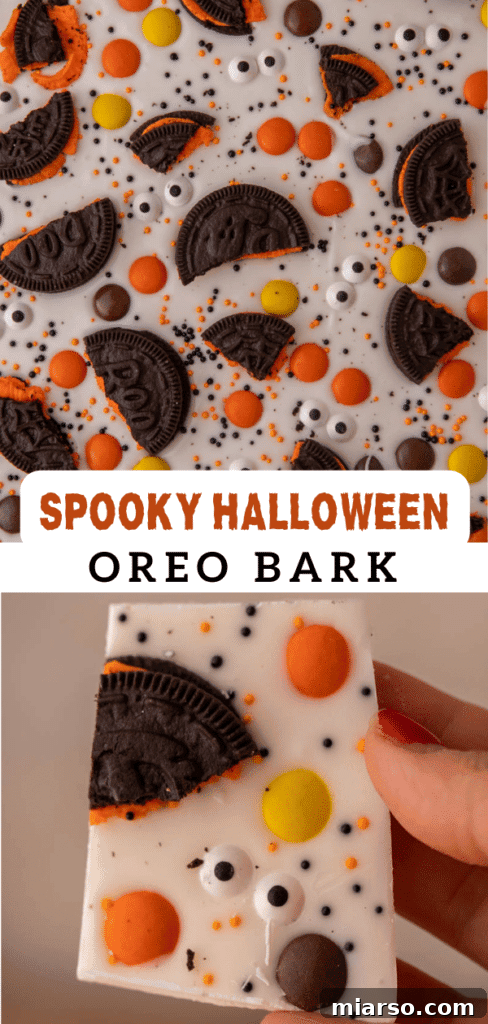
Welcome to the ultimate guide for crafting the most enchanting and effortless Halloween treat: White Chocolate Halloween Oreo Bark! This delightful confection brings together the classic crunch of Oreo cookies, the sweet creaminess of white chocolate, and a medley of festive Halloween candies, all in one spooktacular, no-bake package. Imagine vibrant orange-filled Halloween Oreos, cheerful Reese’s Pieces, and playful candy eyeballs scattered across a pristine white chocolate canvas – a truly magical blend that’s as fun to make as it is to devour. With ingredients readily available at your local grocery store, you can elevate your holiday celebrations and impress guests with minimal effort.
If you’re in the mood for more spooky season delights, be sure to explore our other fantastic recipes. Dive into our edible monster cookie dough for a safe-to-eat, whimsical treat, or explore the rich, dark flavors of this black cocoa monster cookie recipe. For a classic twist, don’t miss The Best Halloween Oreo Brownies Recipe, and for a fun, themed cookie, try these adorable spider snickerdoodle cookies. Each recipe promises to add a touch of magic to your Halloween festivities!
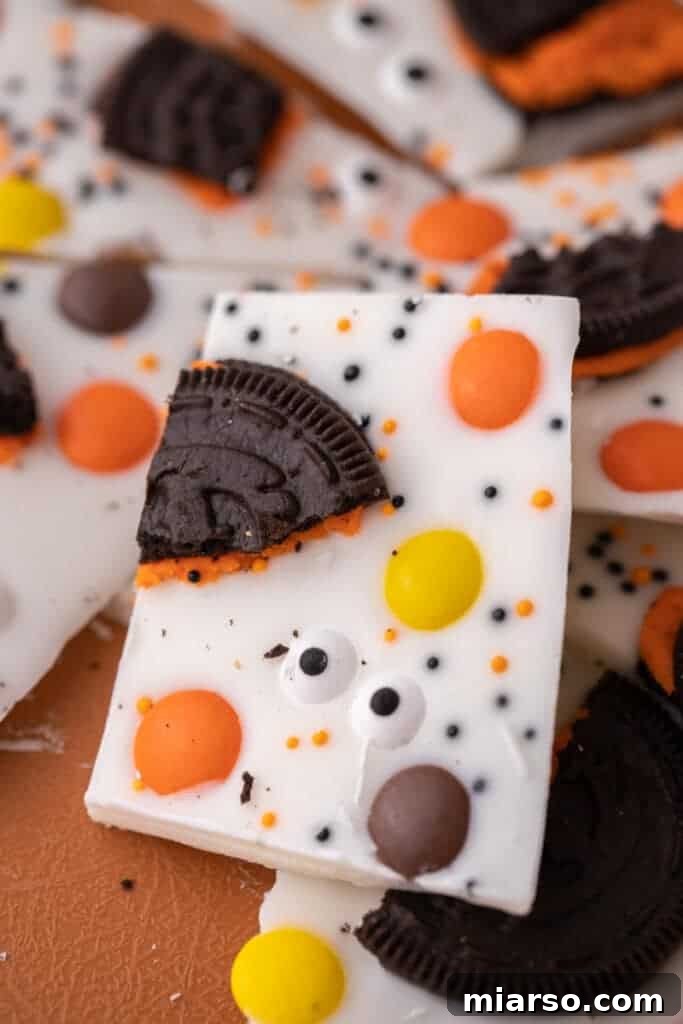
The Ultimate White Chocolate Halloween Oreo Bark Recipe
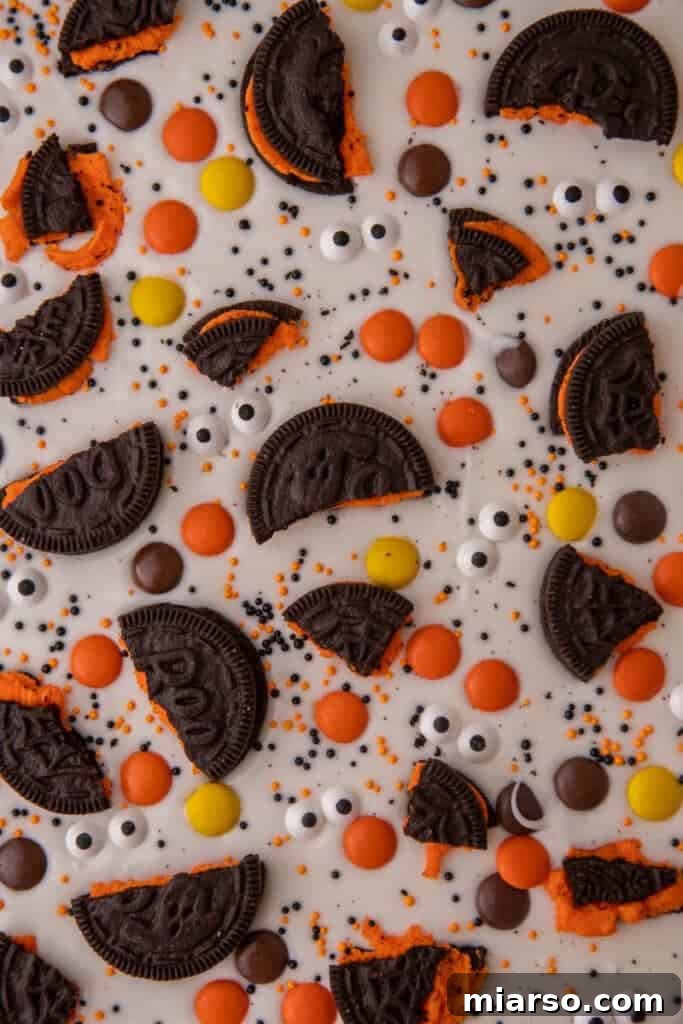
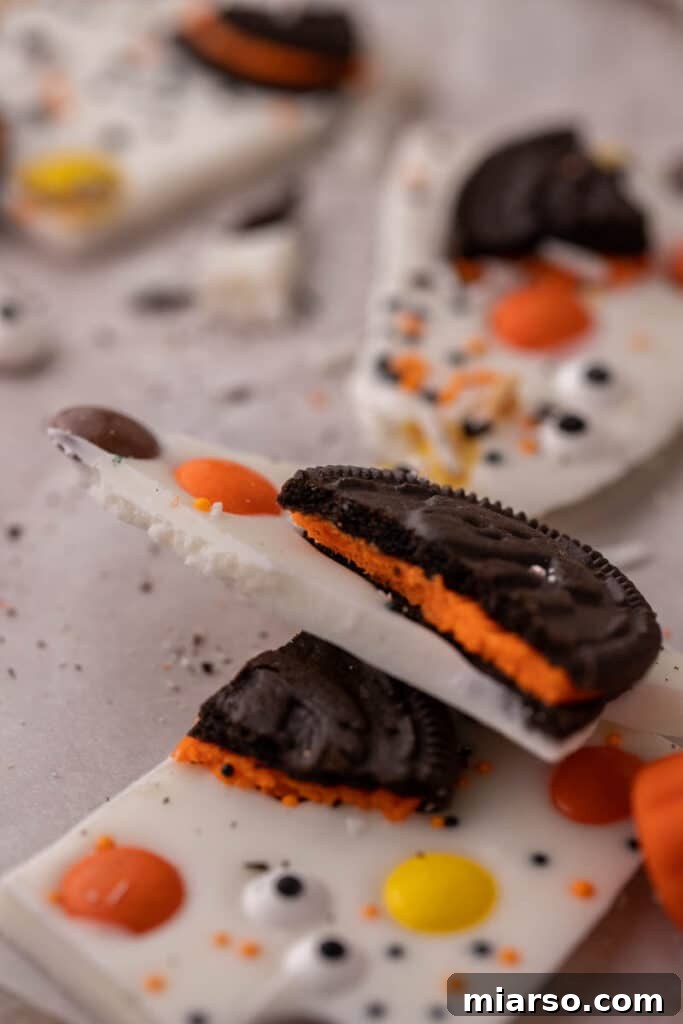
When it comes to crafting memorable Halloween treats, nothing beats the ease and festive charm of this White Chocolate Halloween Oreo Bark. It’s not just a recipe; it’s an invitation to unleash your creativity and infuse a bit of spooky magic into your holiday celebrations. This particular bark stands out for its delightful combination of smooth white chocolate, crunchy Oreo cookies (especially the ones with the vibrant orange cream filling), and whimsical additions like candy eyes and Reese’s Pieces, which perfectly capture the iconic orange and black Halloween palette.
What makes this bark truly special is its incredible simplicity. In a world of elaborate Halloween baking, this recipe offers a refreshing no-bake alternative that requires minimal time and effort. It’s perfect for last-minute party preparations, school treats, or simply a fun activity with family. The contrast of the sweet white chocolate with the classic chocolatey crunch of Oreos and the nutty pop of Reese’s creates a symphony of textures and flavors that will have everyone reaching for more. Give it a try this Halloween, and prepare to be amazed by how such a simple treat can be so utterly delicious and visually stunning!
Why You’ll Love This Easy Halloween Treat
- Perfect for Halloween Parties: This bark is a guaranteed crowd-pleaser and a festive centerpiece for any Halloween gathering. Its vibrant colors and fun toppings instantly scream “Happy Halloween!” and make it irresistible to both kids and adults. It’s easy to portion and serve, making it ideal for large groups.
- Effortlessly Quick to Prepare: In the realm of easy Halloween treats, this recipe truly shines. It comes together in a flash, allowing you to whip up a large batch without spending hours in the kitchen. This is a lifesaver when you’re short on time but still want to deliver a show-stopping dessert.
- Incredibly Versatile: The beauty of chocolate bark lies in its adaptability. While we provide a fantastic base, feel free to customize it with your favorite melted chocolate (dark, milk, or even a mix!) and any Halloween candy or sprinkles you desire. It’s a canvas for your holiday creativity!
- A No-Bake Wonder: Forget turning on the oven! This is a completely no-bake dessert, making it perfect for bakers of all skill levels, especially those who prefer quick assembly over complex baking techniques. It’s also ideal for warmer climates where you want to avoid heating up your kitchen.
- Smart Use of Leftover Candy: Have a stash of Halloween candy that needs a purpose? This bark is an excellent way to use up those extra chocolates, gummy candies, or sprinkles. It transforms leftover treats into a cohesive and exciting new dessert, minimizing waste and maximizing flavor.
Essential Ingredients for Your Halloween Oreo Bark
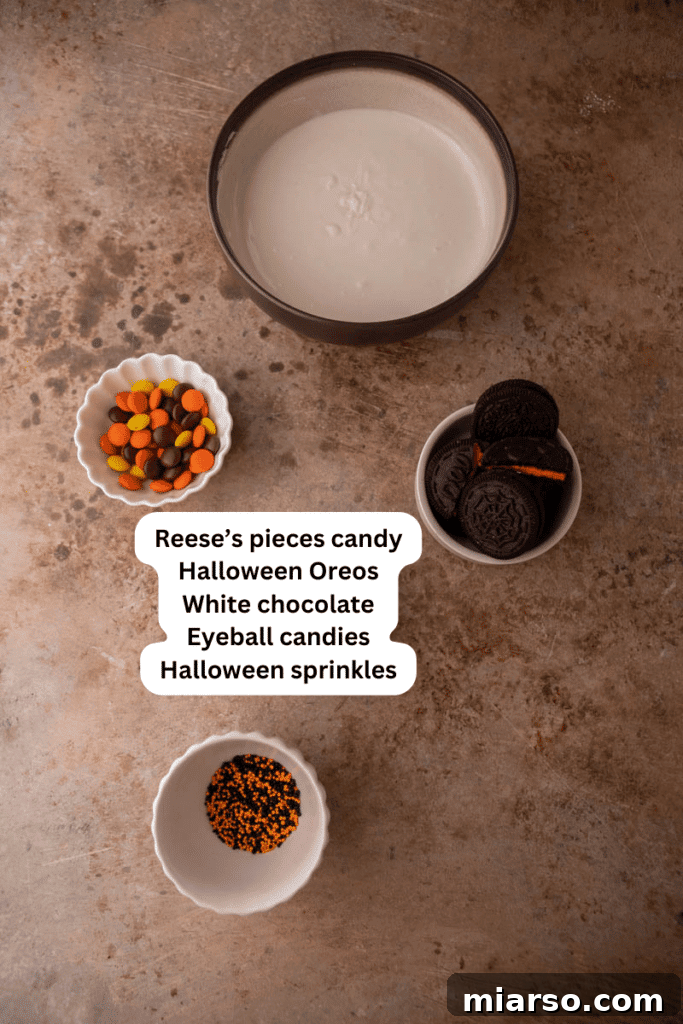
Creating this bewitching White Chocolate Halloween Oreo Bark requires just a few simple ingredients, easily found at any grocery store. The quality of your ingredients can truly make a difference in the final taste and texture, so choose wisely! Here’s a detailed look at what you’ll need:
- White Chocolate: The foundation of our bark! You have several excellent options here. White chocolate chips are convenient and melt smoothly. White chocolate almond bark, often found in the baking aisle, is specifically designed for melting and coating, offering a very fluid consistency. Alternatively, white candy melts provide vibrant color and a smooth finish, making them ideal for a more professional look. Choose what’s most accessible or your personal preference. For best results, use a good quality white chocolate as it greatly impacts the flavor.
- Halloween Oreos: These special edition Oreos are a game-changer! Their spooky designs and bright orange cream filling not only add a festive pop of color but also a unique flavor and texture. If you can’t find Halloween Oreos, regular Oreos will work just fine – you’ll still get that classic chocolate cookie crunch. You can even try crushing them slightly to distribute the pieces throughout the bark.
- Reese’s Pieces: These iconic peanut butter candies are a fantastic addition, providing a burst of orange color that perfectly complements the Halloween theme. Their crunchy candy shell and creamy peanut butter center offer a wonderful textural and flavor contrast to the white chocolate and Oreos. If you’re not a fan of peanut butter, or have allergies, feel free to substitute with other small, orange-hued candies.
- Halloween Sprinkles: This is where the real fun begins! Select an assortment of Halloween-themed sprinkles – think ghosts, bats, pumpkins, or classic orange, black, and purple jimmies. Sprinkles add visual appeal, texture, and an extra layer of festivity to your bark. Don’t be shy; mix and match your favorites to create a truly unique masterpiece.
- Halloween Eyeball Candies: For that delightfully spooky touch, edible candy eyeballs are a must! They instantly transform your bark into a quirky, ghoulish delight, adding personality and fun. These small candies are usually made of sugar and add a slight crunch, perfect for decorating.
Creative Substitutions and Variations
One of the best aspects of making chocolate bark is how forgiving and adaptable the recipe is. Don’t feel limited by the ingredients listed; use them as a starting point to create your own unique Halloween confection!
- Chocolate Base Alternatives: While white chocolate creates a beautiful contrast with the colorful toppings, feel free to experiment with other chocolate varieties. Dark chocolate offers a rich, intense flavor that pairs wonderfully with the sweet toppings, creating a more sophisticated bark. Milk chocolate would provide a classic, comforting taste that everyone loves. For an extra layer of flavor and visual appeal, consider swirling different types of melted chocolate together for a marbled effect!
- Unleash Your Topping Creativity: This recipe is a blank canvas for your imagination. Beyond the suggested Reese’s Pieces and sprinkles, consider adding crushed pretzels for a salty-sweet crunch, mini marshmallows for a chewy surprise, or even other types of chopped cookies like shortbread or chocolate chip. Gummy worms, candy corn, M&M’s (especially the Ghoul Mix!), chopped Kit Kats, Snickers, or Twix bars from your leftover Halloween haul would also be fantastic. The goal is to create a vibrant, textured bark that reflects your personal taste and holiday spirit.
- A Touch of Salt: To beautifully balance the sweetness of the white chocolate and candies, consider sprinkling a pinch of coarse sea salt over half of your bark before it sets. The subtle salty crunch against the rich sweetness is a culinary delight that many appreciate. If you’re unsure, try it on a small section first to see if it’s to your liking – it might just become your new favorite secret ingredient!
Crafting Your Spooky White Chocolate Halloween Bark: A Step-by-Step Guide
Creating this incredibly easy and festive Halloween bark is a joy, and it requires minimal culinary expertise. Follow these straightforward steps to conjure up a treat that’s sure to impress!
- Prepare Your Workspace: Before you begin melting, ensure your baking sheet is ready. Line a standard baking sheet (or half a sheet for this recipe’s quantity) with parchment paper. This crucial step prevents sticking and makes for easy removal and cleanup. Have all your chosen toppings prepped and within reach – crush your Oreos, open your candy bags, and have your sprinkles ready.
- Melt the White Chocolate to Perfection: Place your chosen white chocolate (chips, almond bark, or candy melts) into a large, microwave-safe bowl. Begin melting it in 30-second increments on medium power. After each interval, remove the bowl and stir the chocolate thoroughly with a rubber spatula. This prevents scorching and ensures even melting. Continue this process until the chocolate is completely smooth and creamy, with no lumps remaining. For a stovetop method, use a double boiler, stirring constantly until melted.
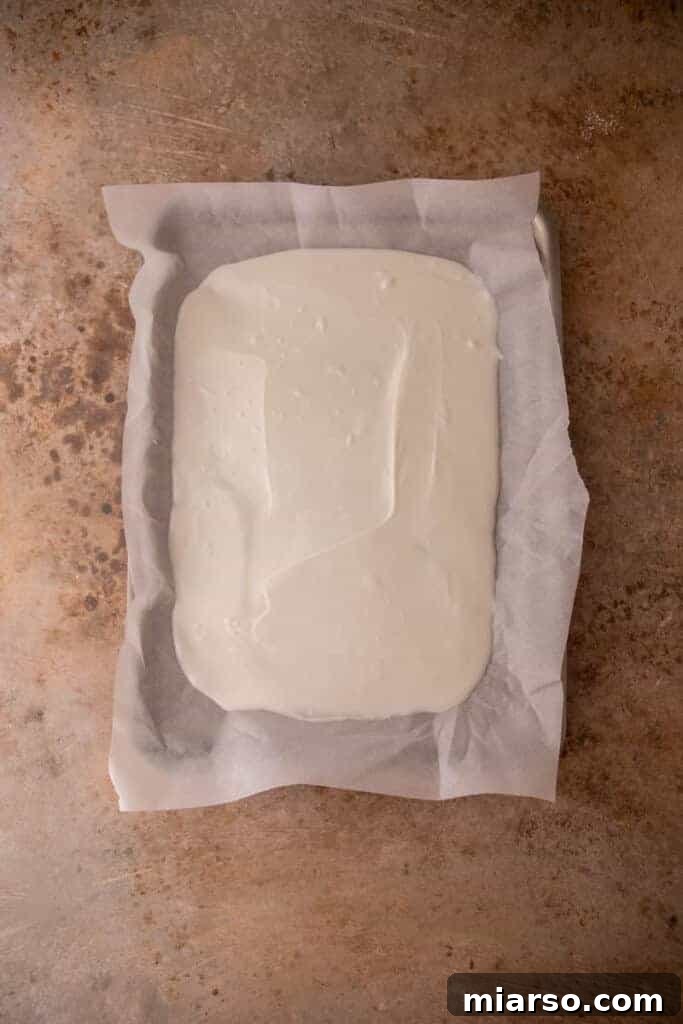
- Spread the Chocolate Base: Once your white chocolate is perfectly melted and smooth, pour it onto the prepared parchment-lined baking sheet. Using your spatula or the back of a spoon, gently spread the chocolate into an even layer, aiming for a thickness of about 1/4 to 1/2 inch. Don’t worry about making it perfectly rectangular; an organic, free-form shape adds to its rustic charm.
- Decorate with Halloween Flair: This is the most exciting part! While the white chocolate is still wet and pliable, generously scatter your crushed Halloween Oreos, Reese’s Pieces, festive Halloween sprinkles, and spooky candy eyeballs across the entire surface. Gently press some of the larger toppings into the chocolate to ensure they adhere well as it sets. Don’t be afraid to be creative with your arrangement – think of it as edible art!
- Chill to Set: Carefully transfer the decorated baking sheet to the refrigerator. Allow the bark to chill for at least one hour, or until the chocolate is completely firm and snaps cleanly when broken. Rushing this step can result in a gooey, unmanageable bark.
- Break, Serve, and Enjoy: Once fully hardened, remove the bark from the refrigerator. Gently lift the parchment paper, and then break the large sheet of bark into irregular, bite-sized pieces. The charm of bark lies in its rustic, jagged edges. Arrange the pieces on a platter and serve immediately. Prepare for oohs and aahs from your delighted guests!
Frequently Asked Questions (FAQ) About Halloween Oreo Bark
How to store this white chocolate Halloween Oreo bark?
To keep your Halloween Oreo bark fresh and delicious, store it in an airtight container. At room temperature, it will remain good for up to one week, provided your kitchen isn’t overly warm. However, for optimal freshness and to prevent any melting or softening, especially in warmer environments, I highly recommend storing it in the refrigerator. When refrigerated, it will stay crisp and delightful for up to two weeks, preserving its texture and preventing the chocolate from becoming too soft.
Can I freeze this bark?
Absolutely! This bark freezes wonderfully, making it a great make-ahead treat. Simply place the broken pieces of bark in an airtight, freezer-safe container or a heavy-duty freezer bag. You can freeze it for up to two months. When you’re ready to enjoy, simply remove it from the freezer and let it sit at room temperature for a few minutes until it’s easy to break apart and enjoy. This is perfect for extending your Halloween treat enjoyment!
Do I have to use almond bark?
No, not at all! While almond bark is a popular choice for its ease of melting and smooth finish, you have several excellent alternatives. You can use high-quality white chocolate chips, solid white chocolate bars (chopped for easier melting), or white candy melts. All of these options will provide a delicious base for your Halloween bark. The key is to choose a product that melts smoothly and sets firmly for the best results.
Why did my chocolate seize?
Chocolate seizing (becoming thick, grainy, and unworkable) usually happens when it comes into contact with even a tiny amount of water or when it’s overheated. To prevent this, make sure your melting bowl and utensils are completely dry. When microwaving, use short increments and stir frequently. If using a double boiler, ensure the bottom of the bowl doesn’t touch the simmering water, and no steam escapes into the chocolate. If your chocolate does seize, you might be able to rescue it by stirring in a teaspoon of vegetable oil or melted shortening until smooth, but it may slightly alter the flavor and texture.
What are some other fun toppings to use in your Halloween bark recipe?
The sky’s the limit when it comes to customizing your Halloween bark! Here are even more creative topping ideas to inspire your spooky sweet creation:
- More Halloween Sprinkles: Explore different shapes, colors, and textures for maximum visual impact.
- Peanut Butter Chips: Add another layer of creamy, nutty flavor.
- Candy Corn or Candy Pumpkins: Classic Halloween candies for a traditional touch.
- Pretzel Sticks or Mini Pretzels: For a delightful salty crunch that perfectly complements the sweetness.
- Other Delicious Cookies: Beyond Oreos, consider crushed shortbread cookies, ginger snaps, or even chocolate chip cookies for varied flavors and textures.
- Edible Eyes Sprinkles: Smaller or larger versions of the candy eyeballs to create a whole family of monsters!
- Leftover Halloween Candy: Chop up Snickers, Twix, M&M’s, KitKats, Butterfingers, or any other treats from your trick-or-treat haul.
- Ghoul Mix M&M’s: These specially colored M&M’s are perfect for Halloween themes.
- Chopped Nuts: Almonds, peanuts, or pecans can add a sophisticated crunch and nutty flavor.
- Dried Cranberries or Cherries: For a burst of tartness and a chewy texture, especially if you want a subtle “bloody” effect.
- White Chocolate Drizzle (contrasting color): Once the bark has set, melt a small amount of dark or milk chocolate and drizzle it over the white bark for an artistic touch.
- Food Coloring: Divide your melted white chocolate and tint it with gel food coloring (orange, green, purple) before spreading for a multi-colored bark base.
Spooky Halloween Oreo Bark Recipe Card
Spooky Halloween Oreo Bark
5
5
10 servings
Print Recipe
Ingredients
- 12 oz white chocolate
- 7 Halloween Oreos
- 1/4 cup Reese’s Pieces
- Halloween sprinkles
- Halloween eyeball candies
Instructions
-
Melt the white chocolate in a microwave-safe bowl in 30-second increments, stirring well after each interval until completely smooth.
-
Spread the melted white chocolate onto a baking sheet lined with parchment paper, creating an even layer.
-
Immediately top the wet chocolate with chopped Halloween Oreos, Reese’s Pieces, festive Halloween sprinkles, and spooky eyeball candies.
-
Chill the bark in the refrigerator for at least one hour, or until it is completely firm.
-
Once hardened, break the bark into irregular pieces, serve, and enjoy your delicious and spooky treat!
Nutrition
Nutrition information is automatically calculated, so should only be used as an approximation.
Shop Ingredients for This Recipe
This post may contain affiliate links, meaning that at no cost to you I will get a small percentage of every purchase you make!
To help you easily gather all the necessary items for this delightful Halloween bark, we’ve curated a list of products you might find useful. Clicking on these links supports our work at no extra cost to you, allowing us to continue bringing you more delicious recipes!
Don’t Forget to Pin This Easy White Chocolate Halloween Oreo Bark Recipe for Later!
Loved this simple yet spectacular Halloween treat? Make sure to save it for future festivities! Pin this recipe to your favorite Halloween, dessert, or no-bake treats board on Pinterest. It’s the perfect way to keep this spooktacular idea handy for next year’s celebrations or whenever you need a quick, festive dessert. Your friends and followers will thank you for sharing such a wonderfully easy and delicious idea!
Thank you for joining us on this sweet adventure! We hope this White Chocolate Halloween Oreo Bark brings a burst of joy and deliciousness to your holiday. It’s a testament to how simple ingredients and a touch of creativity can transform an ordinary day into something extraordinary and festive. Happy Halloween, and happy baking (or rather, no-baking)!