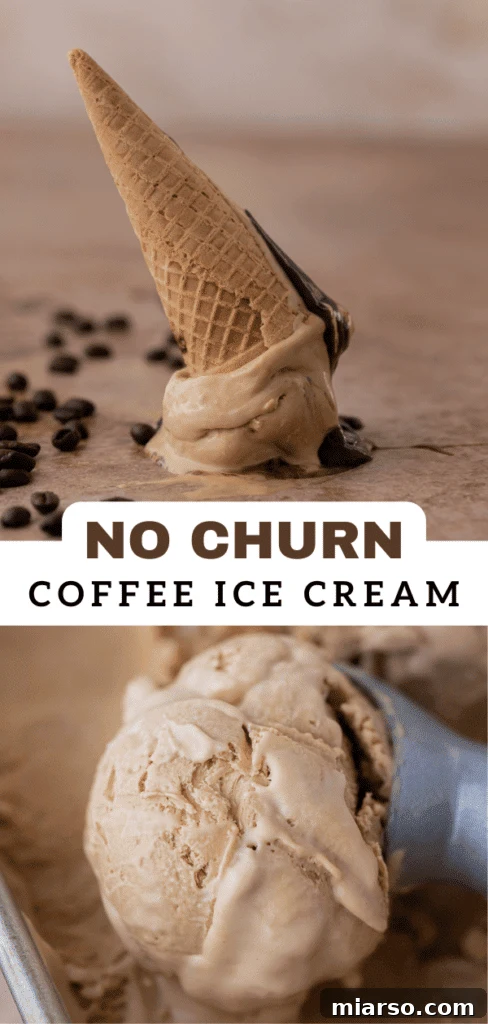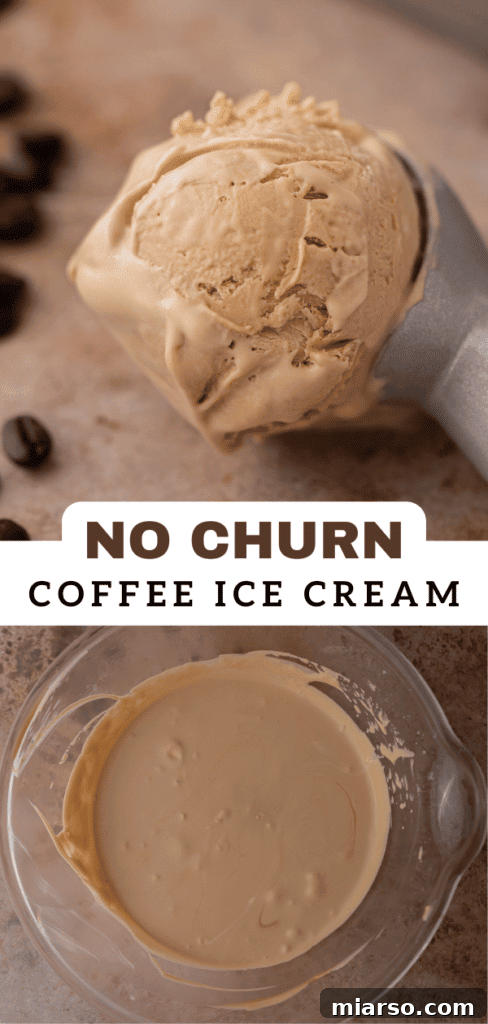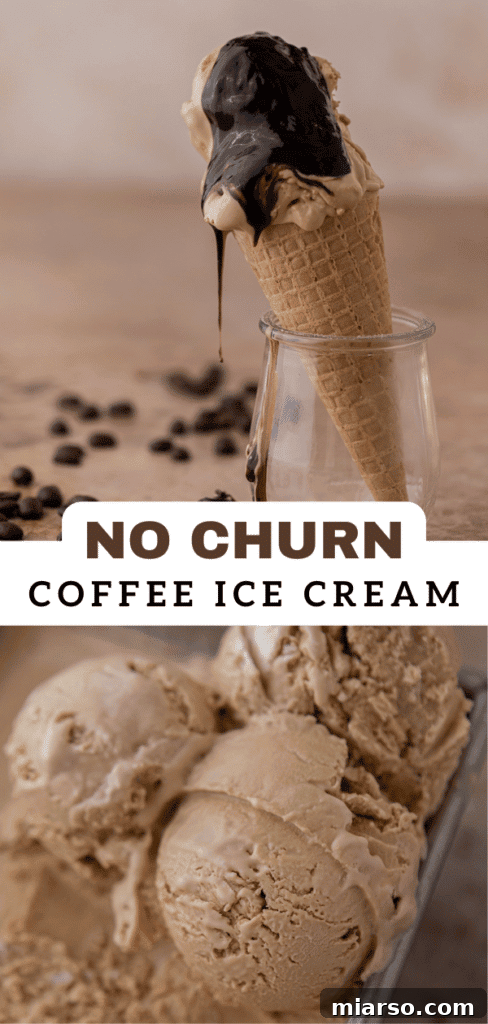
Discover the ultimate guide to crafting the most delightful no-churn coffee ice cream right in your own kitchen! This incredibly easy homemade ice cream recipe promises a rich, creamy texture and an irresistible coffee flavor, all without the need for a bulky ice cream maker. Starting with just a few simple ingredients like velvety whipped cream and aromatic vanilla extract, we then introduce the magic of sweetened condensed milk and instant coffee to create a dessert that will truly satisfy every coffee aficionado. Prepare to amaze your taste buds and impress your loved ones with this effortlessly gourmet treat.
If you’re as passionate about simple, delicious frozen desserts as we are, be sure to explore our other fantastic no-churn creations. Dive into the crunchy delight of our No-Churn Oreo Ice Cream, explore the versatility of the Ninja Creami Chocolate Ice Cream, or indulge in the fudgy goodness of this No-Churn Chocolate Brownie Ice Cream Recipe. Each offers a unique way to enjoy homemade ice cream with minimal effort.
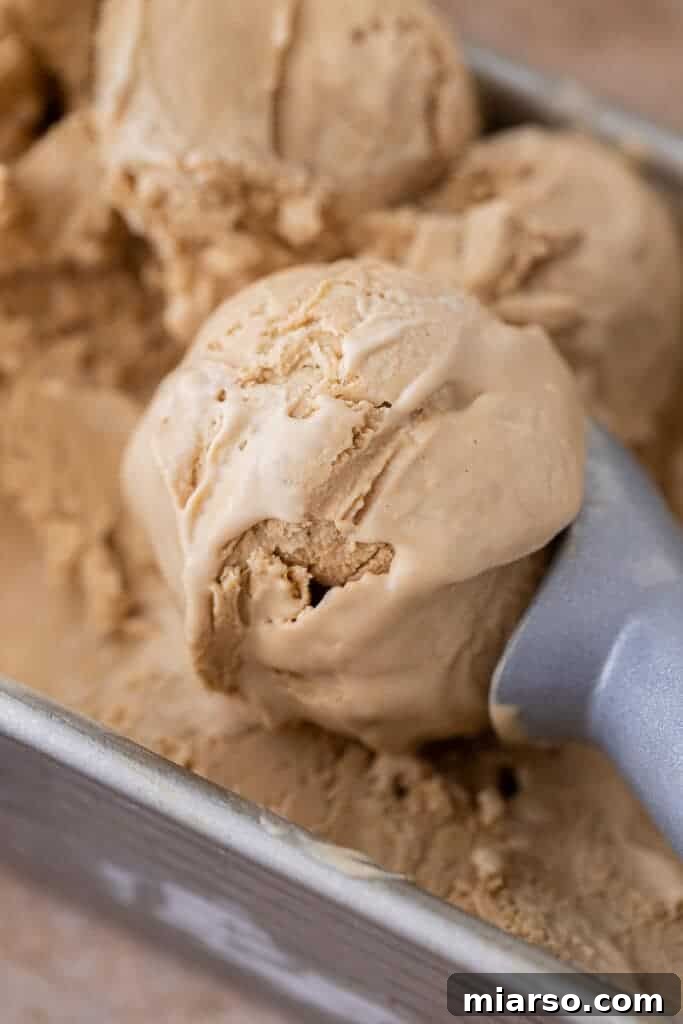
Unveiling the Best No-Churn Coffee Ice Cream Recipe
Are you a devoted coffee lover? Do you find yourself constantly craving anything infused with that rich, unmistakable coffee flavor? If so, get ready to elevate your dessert game! This recipe is a celebration of all things coffee, meticulously crafted to bring together your two great loves: coffee and ice cream, in a format that’s incredibly simple to make.
My journey to creating this no-churn coffee ice cream began with a desire to achieve that perfect creamy texture and intense coffee taste without the hassle of specialized equipment. The result exceeded all expectations. From the very first batch, I was met with an exceptionally creamy and profoundly delicious ice cream. The strong, authentic coffee flavor truly is the “cherry on top,” making this recipe an absolute must-try. It’s the perfect sweet treat to share with fellow coffee enthusiasts among your friends and family, or simply to savor by yourself on a warm afternoon.
This dessert isn’t just easy; it’s a revelation. Forget about tempering eggs or constantly monitoring an ice cream machine. Our method focuses on combining readily available ingredients in a way that creates a smooth, scoopable, and intensely flavored coffee ice cream that rivals any gourmet store-bought version. Get ready to experience the pure joy of homemade coffee ice cream!
Why This No-Churn Coffee Ice Cream Will Become Your Go-To Dessert
There are countless reasons why this no-churn coffee ice cream recipe deserves a prime spot in your culinary repertoire. Here’s why it stands out as an absolute winner:
- Effortless Preparation: No fancy ice cream machine is required! This is a completely no-churn recipe, meaning you won’t need any specialized equipment to achieve a wonderfully delicious and creamy ice cream. It’s perfect for beginners and seasoned bakers alike, promising gourmet results with minimal fuss.
- Minimal Ingredients, Maximum Flavor: Crafted with only a handful of readily available ingredients, this recipe focuses on simplicity without compromising on taste. Each spoonful delivers a rich, bold coffee flavor that’s both comforting and invigorating, making it a true delight for coffee lovers.
- Quick & Easy: You’ll be amazed at how little hands-on time this recipe demands. With just a few minutes of mixing, the bulk of the work is left to your freezer. This makes it an ideal dessert for last-minute gatherings or when you’re craving something sweet but short on time.
- Versatile Dessert Base: This coffee ice cream is exceptionally versatile. It’s perfect on its own, but also serves as an outstanding base for other coffee-inspired treats. It’s especially fantastic for making classic Affogatos, where a scoop of cold, creamy coffee ice cream meets a shot of hot espresso – because, let’s be honest, there can never be too much coffee!
- Impressive Results: Despite its simplicity, the end result is a surprisingly sophisticated and utterly decadent dessert. Its smooth texture and deep coffee notes will surely impress anyone who tries it, making you look like a dessert maestro with very little effort.
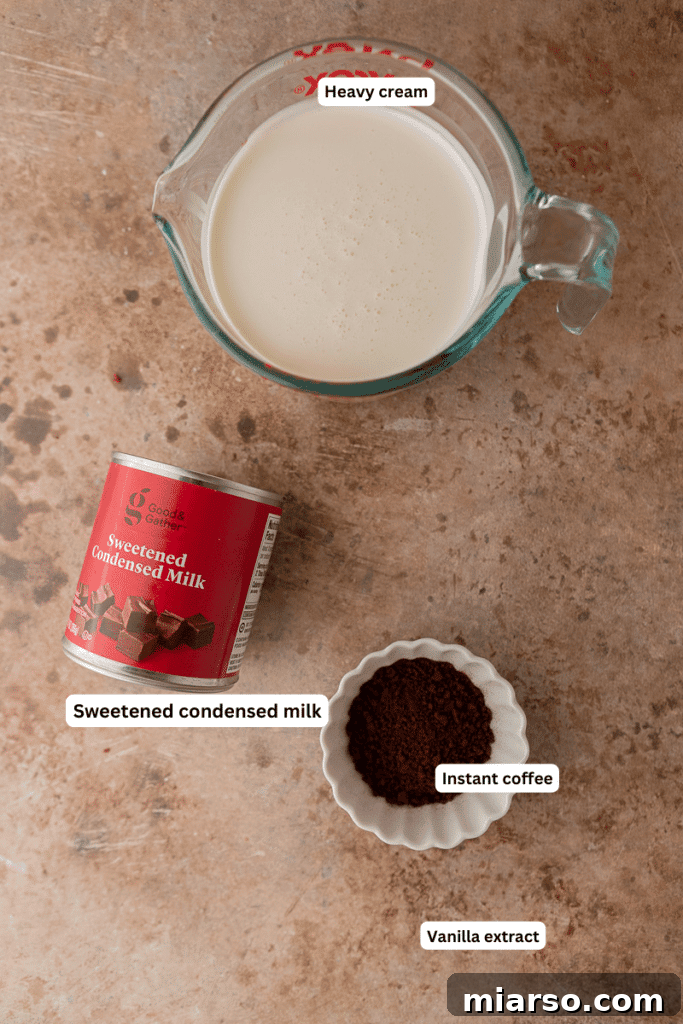
Essential Ingredients for Your Creamy No-Churn Coffee Ice Cream
Crafting this luscious no-churn coffee ice cream requires just a few key components, each playing a vital role in achieving its signature creamy texture and robust flavor. Here’s a closer look at what you’ll need and why each ingredient is important:
- Cold Heavy Cream: This is the foundation of our no-churn ice cream. Using heavy cream (also known as whipping cream) that is very cold is crucial. Cold cream whips up much faster and creates a more stable, voluminous whipped cream, which is essential for the light and airy texture of the ice cream base. Ensure your heavy cream has a fat content of at least 36% for the best results.
- Vanilla Extract: A touch of vanilla extract adds a beautiful depth of flavor that complements and enhances the coffee notes without overpowering them. It rounds out the sweetness and adds a subtle complexity, making the ice cream taste even more luxurious.
- Instant Coffee Granules: The star of the show! Instant coffee is what gives this ice cream its authentic and strong coffee flavor. Choose a good quality instant coffee for the best taste. While instant coffee does contain caffeine, the amount per serving in the finished ice cream is generally moderate. However, if you are particularly sensitive to caffeine, you might consider using decaffeinated instant coffee or adjusting the quantity to your preference. Remember, the quality of your coffee will significantly impact the final flavor.
- Sweetened Condensed Milk: This ingredient is the secret to no-churn ice cream’s incredible creaminess and sweetness. Sweetened condensed milk is milk from which water has been removed, and sugar has been added, resulting in a thick, syrupy consistency. It provides the necessary sugar and prevents the ice cream from becoming too icy. Using room temperature sweetened condensed milk will help it combine more smoothly and evenly into the whipped cream mixture, ensuring a homogenous ice cream base.
- Hot Water: We’ll only need a tiny amount of hot water, just enough to dissolve the instant coffee granules. Dissolving the coffee first ensures that the flavor is evenly distributed throughout the ice cream mixture, preventing any grainy texture and maximizing the coffee’s rich essence. Allow the dissolved coffee to cool completely before incorporating it into the main mixture.

Simple Steps to Crafting Homemade Coffee Ice Cream
Making this no-churn coffee ice cream is surprisingly straightforward, requiring minimal effort for maximum reward. Follow these simple steps to create a wonderfully creamy and flavorful dessert:
- Dissolve the Coffee: In a small, heat-proof bowl, combine the instant coffee granules with the hot water. Stir well until the coffee is completely dissolved. It’s crucial to set this mixture aside and allow it to cool completely to room temperature before adding it to the cream. Adding warm coffee could deflate your whipped cream and affect the final texture of the ice cream.
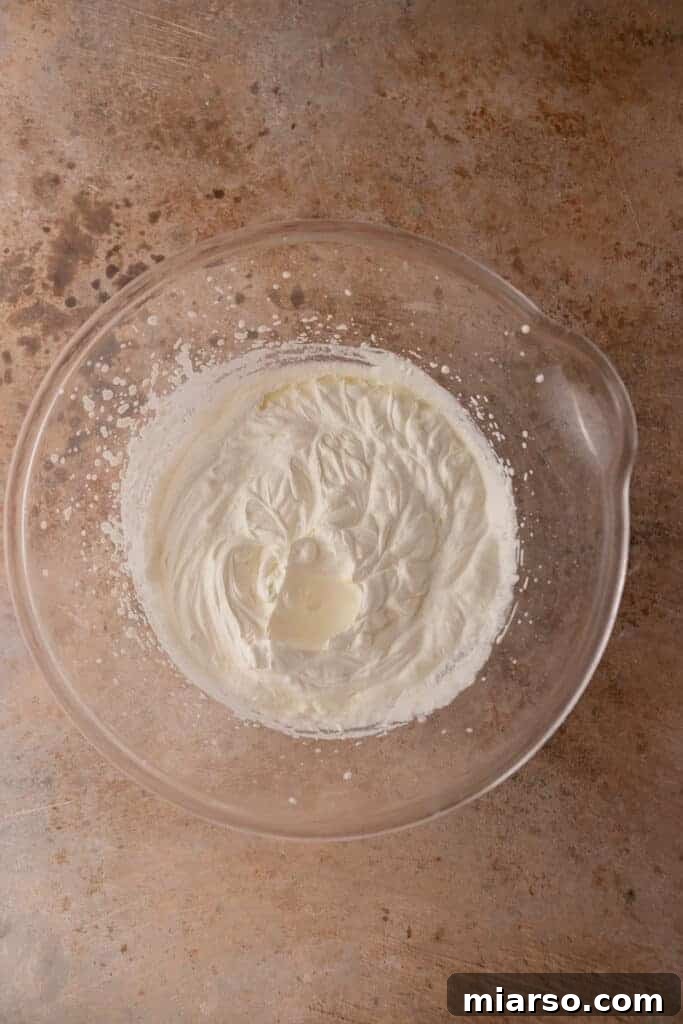
- Whip the Cream: Pour the very cold heavy whipping cream and vanilla extract into a large mixing bowl. Using either a hand mixer or a stand mixer fitted with the whisk attachment, begin to whip the cream on medium-high speed. Continue whipping until stiff peaks form. Stiff peaks mean that when you lift the whisk, the peaks of cream stand tall and hold their shape firmly. Be careful not to over-whip, as this can turn the cream grainy.
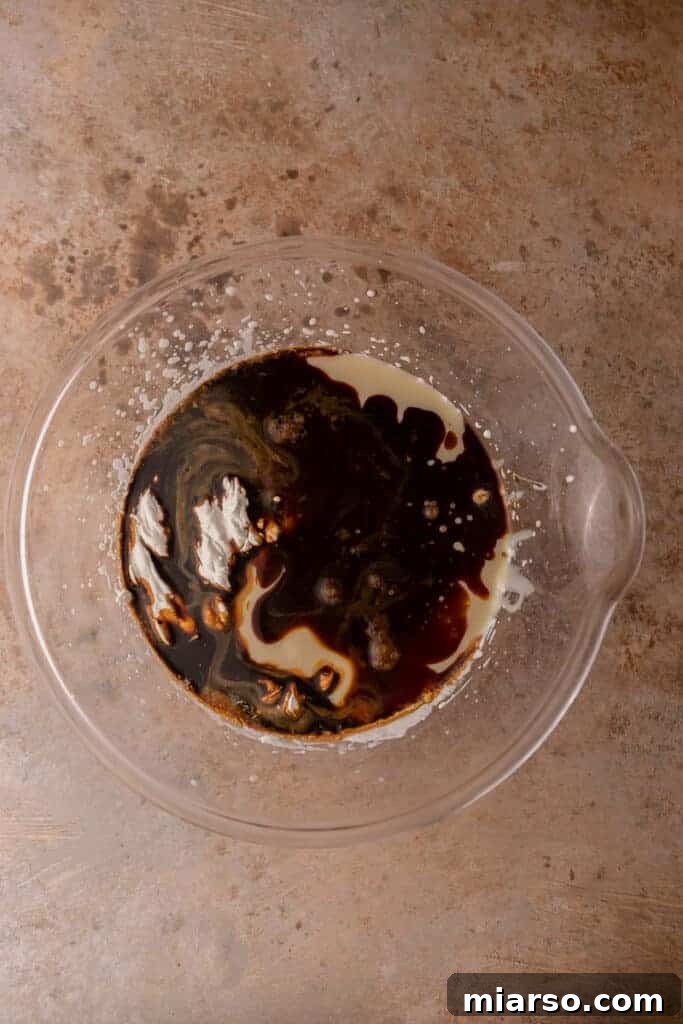
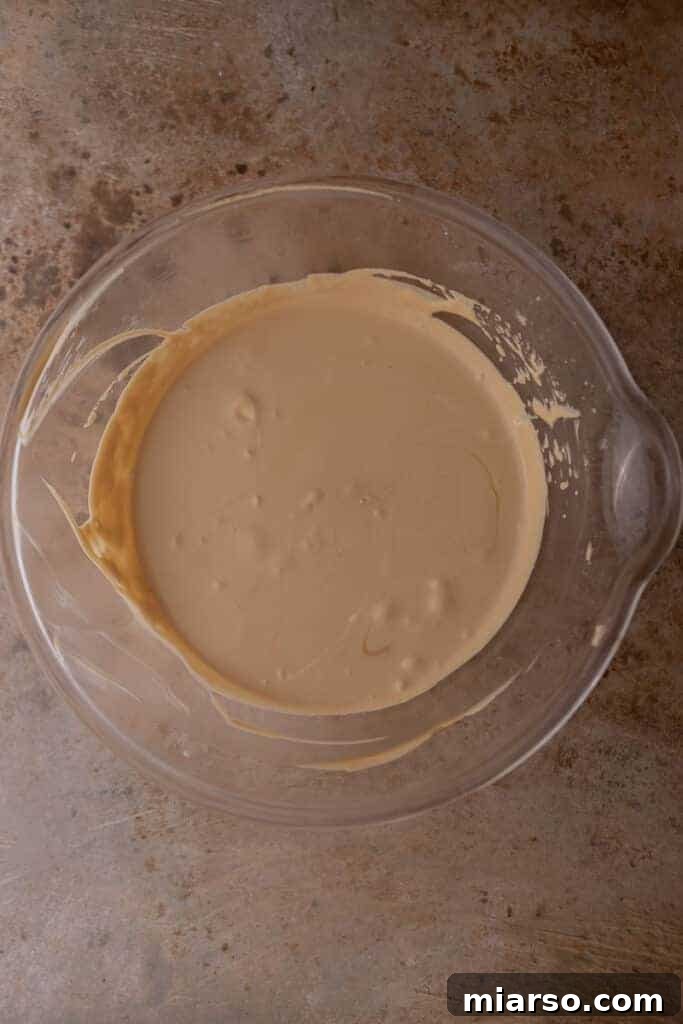
- Gently Fold in Sweetened Condensed Milk and Coffee: Once your stiff peaks are formed, gently fold in the room temperature sweetened condensed milk. Use a spatula and a gentle, upward motion to combine these ingredients. Then, carefully fold in the cooled-down dissolved coffee mixture. Continue folding just until everything is well combined and streak-free. The goal is to incorporate these ingredients without deflating the whipped cream, which provides the airy structure for your ice cream.
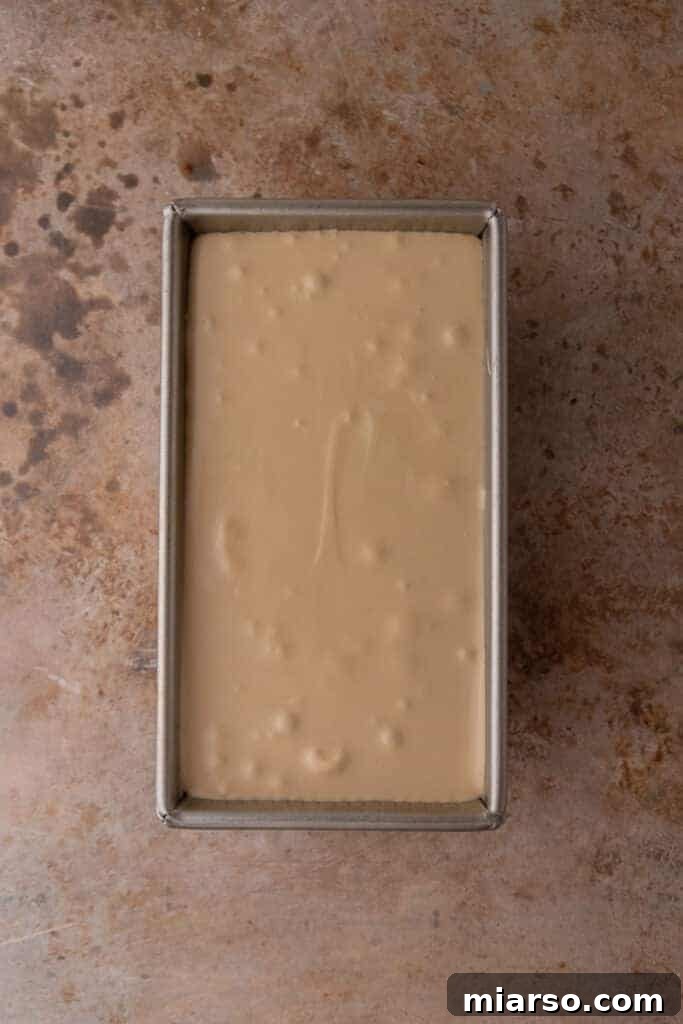
- Prepare for Freezing: Carefully pour the whipped cream, sweetened condensed milk, and coffee mixture into a loaf pan or any other freezer-safe container. Ensure it’s spread evenly. To prevent ice crystals from forming and to maintain a smooth texture, tightly cover the container with plastic wrap, pressing it directly onto the surface of the ice cream mixture. For an extra layer of protection, you can also cover it with aluminum foil.
- Freeze to Perfection: Place the covered container in the freezer for at least 6 hours, or ideally, overnight. The longer it freezes, the firmer and more scoopable your ice cream will be.
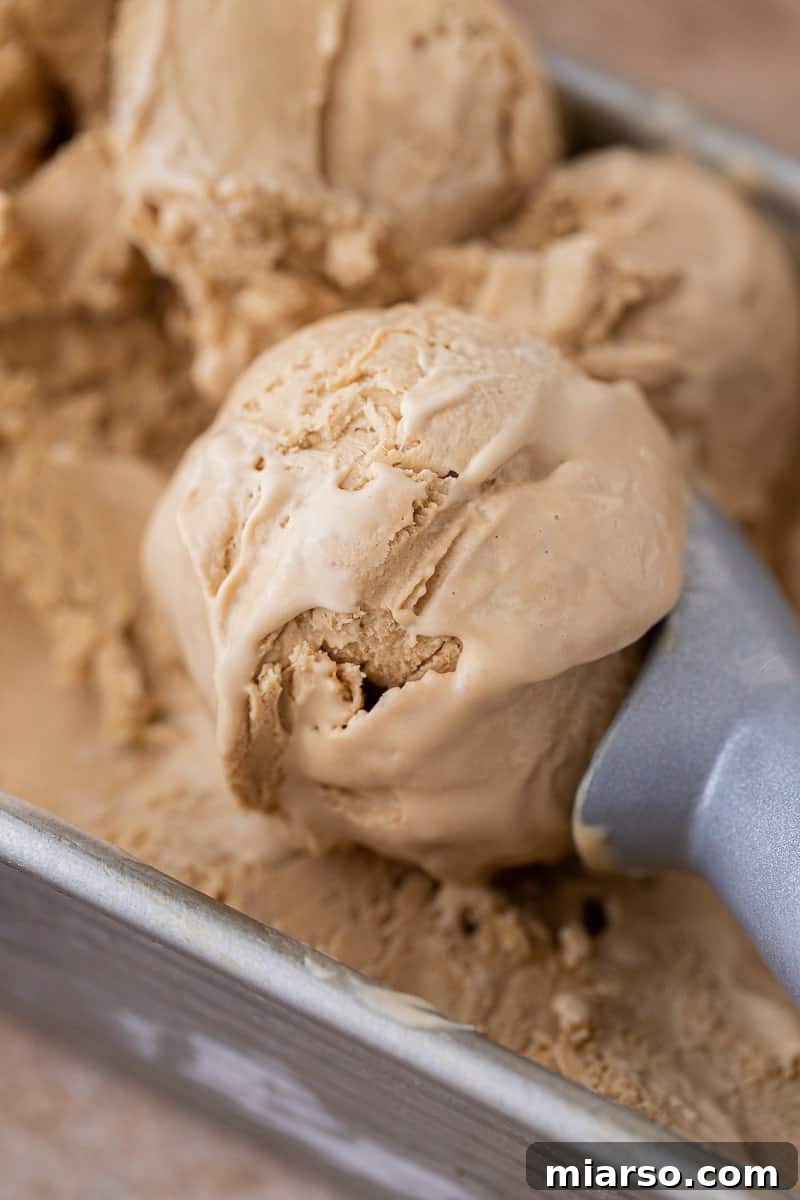
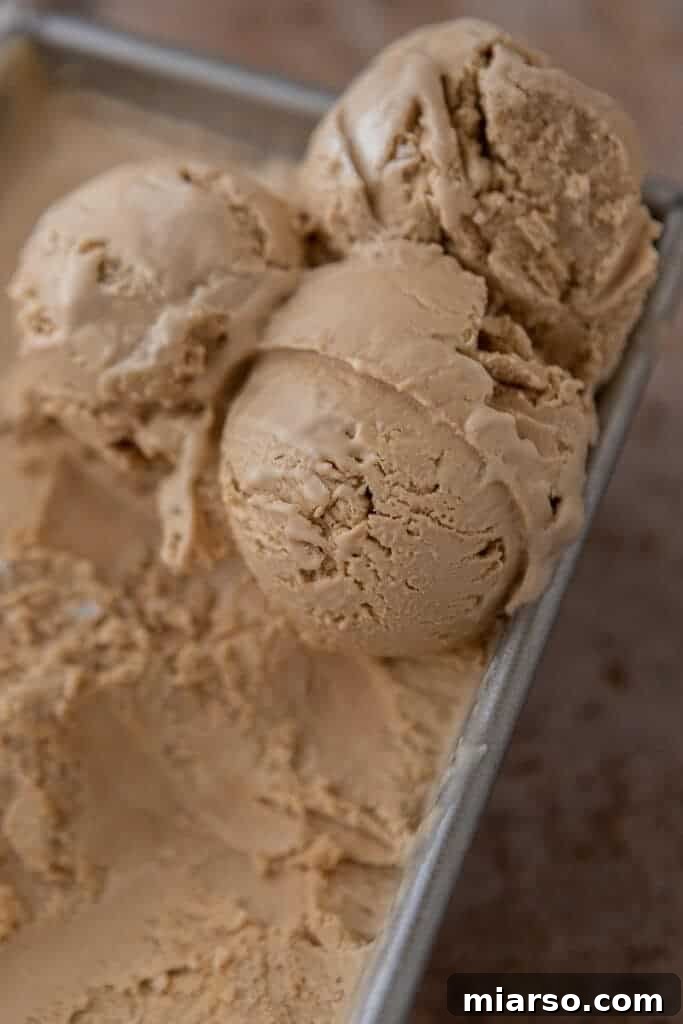
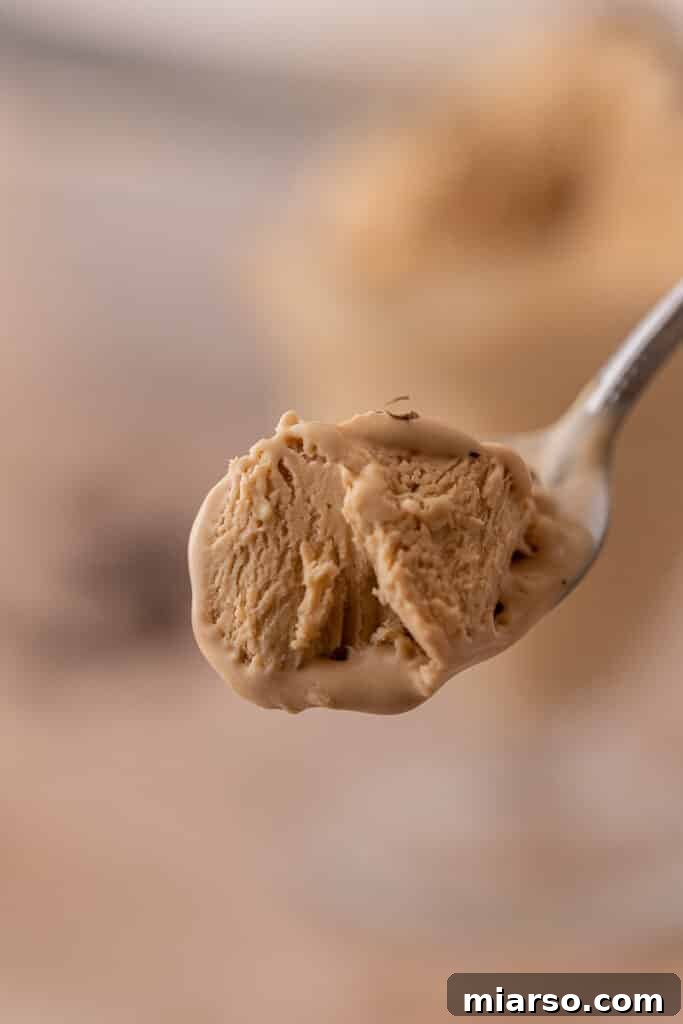
- Serve and Enjoy: When you’re ready to serve this delightful homemade treat, for the best results, remove the ice cream from the freezer and let it sit at room temperature for about 5 to 10 minutes. This brief softening period will allow you to scoop it out with ease, revealing its perfectly creamy texture. Serve it plain, or get creative with your favorite toppings!
Frequently Asked Questions (FAQ) About No-Churn Coffee Ice Cream
How to Store Leftover No-Churn Coffee Ice Cream?
To preserve the incredible flavor and creamy texture of your homemade coffee ice cream, proper storage is key. You can store your leftover ice cream in the freezer for up to 2 months. The most important step is to ensure it’s airtight. Keep it covered tightly with plastic wrap, pressing the wrap directly onto the surface of the ice cream to minimize air exposure. For an extra layer of protection against freezer burn and to maintain optimal freshness, cover the entire container with aluminum foil. This dual-layer approach will help keep your ice cream tasting fresh and delightful for weeks.
Can I use strong brewed coffee instead of instant coffee?
While instant coffee is recommended for its concentrated flavor and ease of dissolution, you can experiment with very strong, freshly brewed coffee. However, be cautious with the amount of liquid. Too much liquid will make your ice cream icy. You’ll need to reduce the amount of water used to dissolve the instant coffee, replacing it with an equal, very small amount of intensely brewed and thoroughly cooled espresso or strong coffee concentrate. Ensure it’s completely cold before mixing.
What if my heavy cream doesn’t whip to stiff peaks?
The most common reason for heavy cream not whipping properly is that it’s not cold enough. Ensure your heavy cream is straight from the refrigerator. You can also chill your mixing bowl and whisk attachment in the freezer for 10-15 minutes before whipping. If it’s still not whipping, check the fat content of your cream; it should be at least 36% for best results.
Can I make this recipe dairy-free?
Yes, you can! Substitute heavy cream with full-fat coconut cream (chilled overnight, use only the thick cream part) or a high-quality dairy-free whipping cream. Replace sweetened condensed milk with a dairy-free sweetened condensed milk alternative. The flavor profile might slightly change, but the no-churn method will still work beautifully.
Exciting Mix-Ins and Serving Suggestions for Your No-Churn Coffee Ice Cream
While this no-churn coffee ice cream is absolutely divine on its own, it also serves as a fantastic canvas for a variety of delicious mix-ins and creative serving ideas. Customizing your ice cream allows you to create unique flavor combinations that the whole family will adore. Here are some fantastic suggestions to inspire you:
- Mini Chocolate Chips: The classic pairing of coffee and chocolate is always a winner. Mini chocolate chips offer tiny bursts of sweetness and a satisfying textural contrast.
- Caramel Chips: For a delightful coffee-caramel swirl, add caramel chips. Their buttery sweetness perfectly complements the rich coffee flavor.
- Drizzle of Caramel Sauce or Peanut Butter: After pouring the ice cream base into the loaf pan, drizzle generous swirls of warm caramel sauce or melted peanut butter on top. Use a knife or skewer to gently swirl them into the ice cream before freezing for beautiful marbling and flavor.
- Nutella Swirls: Who can resist the magic of Nutella? Swirl spoonfuls of Nutella through the ice cream base for a hazelnut-chocolate-coffee dream.
- Candied Hazelnuts or Pecans: Add a sophisticated crunch with candied nuts. Hazelnuts and pecans, especially when toasted and candied, pair wonderfully with coffee.
- Chocolate Sauce Drizzles: A rich chocolate fudge or ganache drizzled over scoops of coffee ice cream just before serving is pure decadence.
- Crushed Cookies or Biscuits: Think crushed chocolate wafers, shortbread, or even more Oreo cookies for added texture and flavor.
- Toffee Bits: The crunchy, buttery sweetness of toffee bits adds an irresistible texture and a burst of flavor.
You have flexibility in how you incorporate these delightful additions. You can either gently fold your chosen mix-ins directly into the ice cream mixture just before freezing, ensuring an even distribution. Alternatively, for distinct layers and a visual appeal, you can add a layer of ice cream base in your container, then sprinkle a layer of your mix-ins, and repeat this process until your container is full. This method is incredibly forgiving, allowing you to experiment and create personalized flavors that will be a hit with everyone.
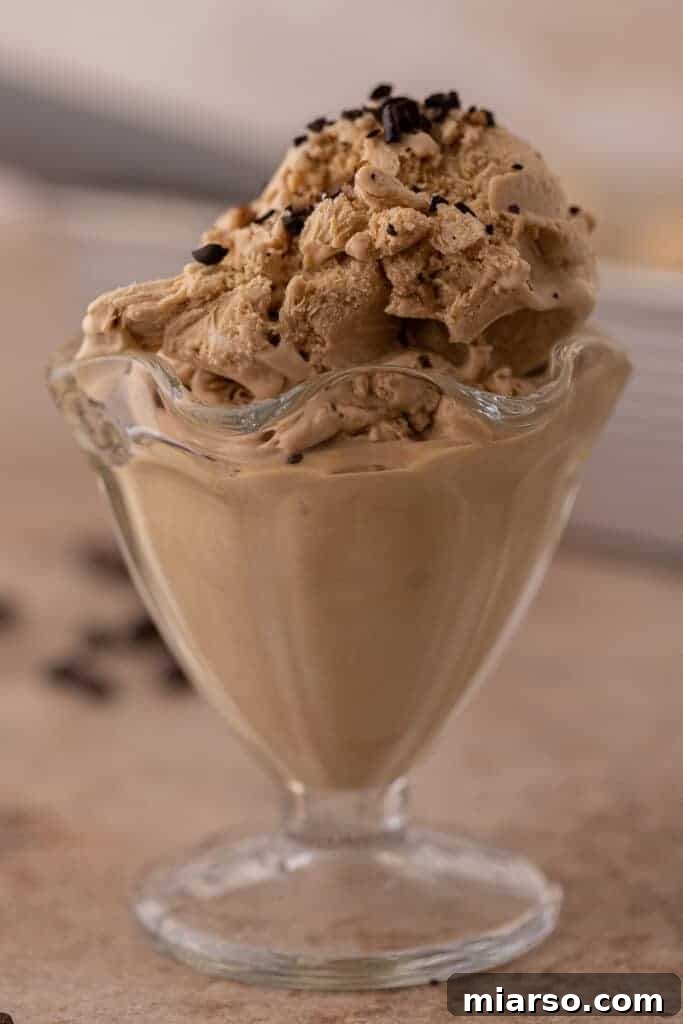
No-Churn Easy Coffee Ice Cream Recipe
No-Churn Coffee Ice Cream
10 mins
6 hrs 10 mins
10 servings
Print Recipe
Ingredients
- 2 tbsp instant coffee
- 2 tbsp hot water
- 2 cup heavy cream (chilled)
- 14 oz sweetened condensed milk (1 can)
- 1 tsp vanilla extract
Instructions
-
In a small bowl, dissolve the instant coffee in the hot water. Stir until fully dissolved, then set aside to cool completely to room temperature.
-
In a large mixing bowl, combine the cold heavy cream and vanilla extract. Whip with a hand mixer or a stand mixer with the whisk attachment until stiff peaks form. The cream should hold its shape when the whisk is lifted.
-
Gently fold the sweetened condensed milk into the whipped cream. Once partially combined, add the cooled coffee mixture and continue to fold until everything is just incorporated and smooth. Be careful not to deflate the whipped cream.
-
Pour the mixture into an 8×5 inch loaf pan or another freezer-safe container. Cover tightly with plastic wrap, pressing it directly onto the surface of the ice cream to prevent ice crystals. Freeze for at least 6 hours, or preferably overnight, until firm.
-
Before serving, remove the ice cream from the freezer and let it sit at room temperature for about 5 to 10 minutes to soften slightly. This will make it easier to scoop and enjoy its creamy texture.
Nutrition
|
Carbohydrates: 24g
|
Protein: 5g
|
Fat: 21g
|
Saturated Fat: 13g
|
Polyunsaturated Fat: 1g
|
Monounsaturated Fat: 5g
|
Cholesterol: 67mg
|
Sodium: 64mg
|
Potassium: 228mg
|
Sugar: 23g
|
Vitamin A: 806IU
|
Vitamin C: 1mg
|
Calcium: 146mg
|
Iron: 0.2mg
Nutrition information is automatically calculated, so should only be used as an approximation.
Shop Ingredients and Tools for This Recipe
This post may contain affiliate links, meaning that at no cost to you I will get a small percentage of every purchase you make! Your support helps keep this blog running.
Loved This No-Churn Coffee Ice Cream? Pin It for Later!
If you’ve enjoyed making and indulging in this fantastic no-churn coffee ice cream, don’t forget to save this recipe for future cravings! Pin it to your favorite dessert boards on Pinterest so you can easily find it whenever that coffee ice cream urge strikes. Sharing is caring, and we’d love for you to spread the word about this incredibly easy and delicious homemade treat!