
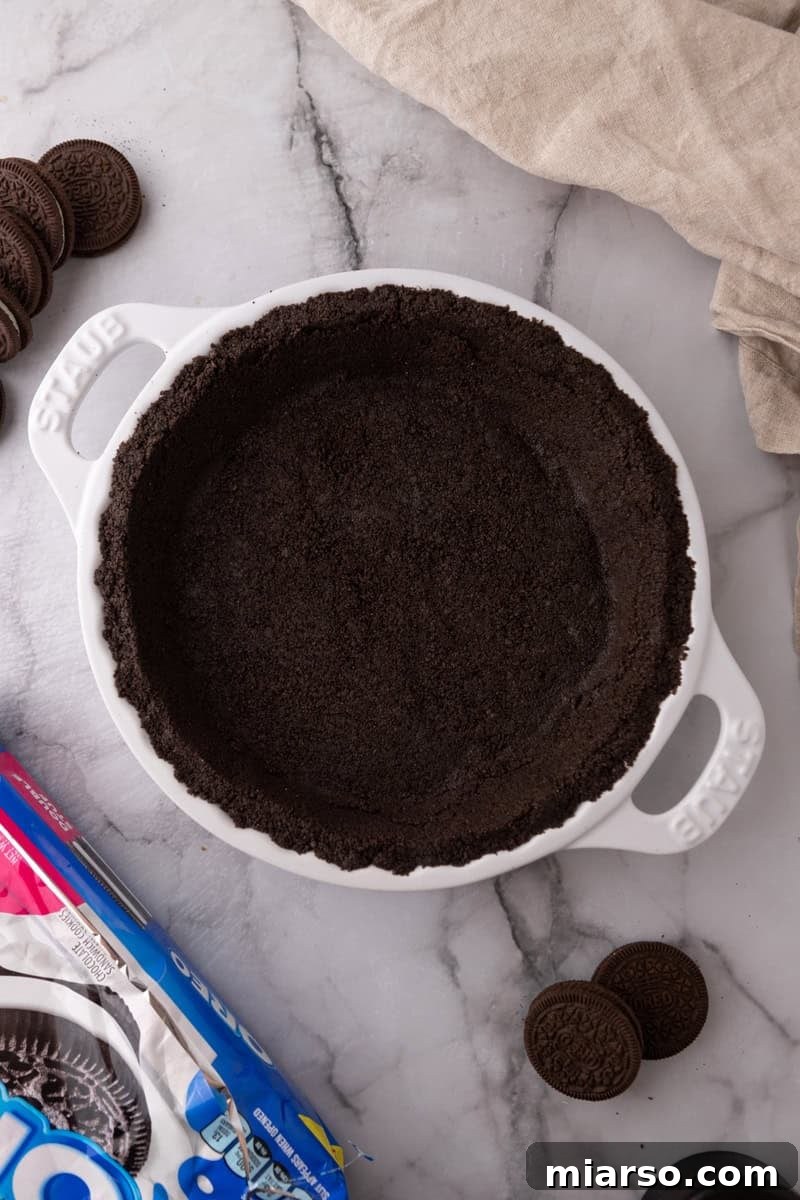
Unlock the secret to an irresistibly delicious dessert with this incredibly simple Oreo Pie Crust Recipe. Far beyond a mere base, this crust transforms any pie or tart into a rich, chocolatey masterpiece. The best part? It’s remarkably easy to prepare, offering a delightful twist on traditional pie crusts. Whether you prefer a cool, creamy no-bake dessert or a crisp, golden-baked creation, this versatile Oreo crust is guaranteed to impress with its deep cocoa flavor and satisfying texture.
Are you tired of relying on bland, store-bought crusts for your homemade pies? It’s time to elevate your baking game! While making a pie crust from scratch might seem daunting, this Oreo version is the perfect entry point for any baker. Requiring just two essential ingredients, it demystifies the process and delivers exceptional results. The dark, decadent cocoa notes of the Oreo cookies beautifully complement almost any filling, making it a go-to choice for endless dessert possibilities. This simple recipe proves that homemade doesn’t have to mean complicated.
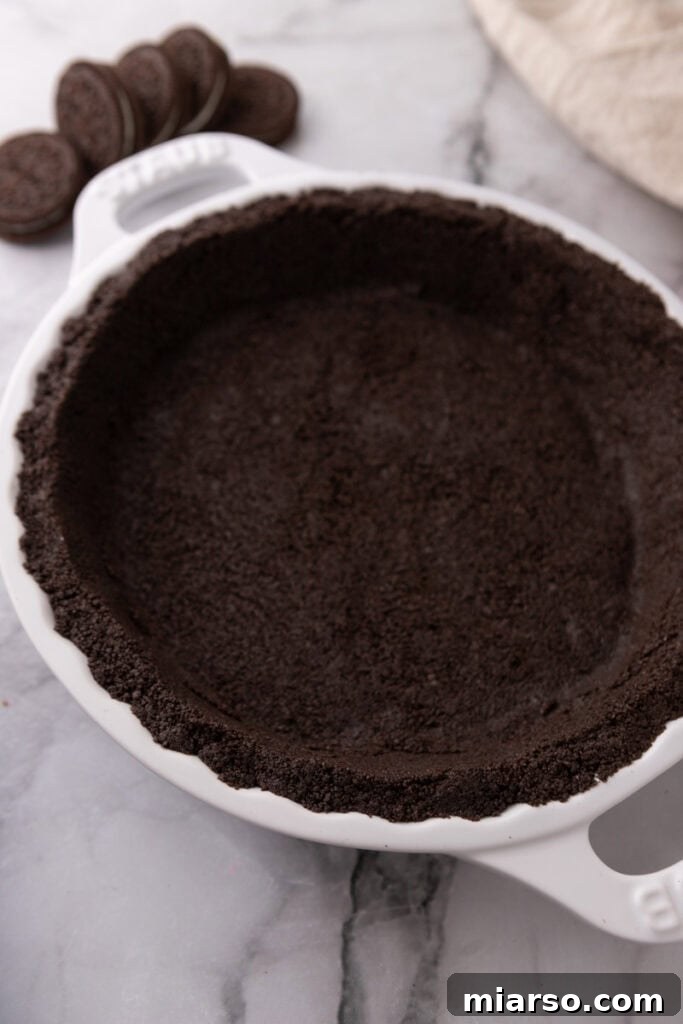
What truly sets this Oreo cookie crust recipe apart from others you might find online is our smart approach to the ingredients. We believe in maximizing flavor and minimizing effort, which is why we keep the luscious cream filling intact within the Oreo cookies. This clever trick saves you valuable time and reduces food waste, all while adding an extra layer of richness, sweetness, and a delightful creamy texture to your finished crust. Whether you’re a beginner eager to master your first homemade crust or a seasoned baker looking for an innovative way to enhance your pies, this crunchy, flavorful Oreo crust will undoubtedly exceed your expectations, becoming a staple in your dessert repertoire.
Once you’ve mastered this incredible Oreo cookie crust, you’ll be eager to pair it with the perfect filling! It’s an ideal companion for a wide array of desserts, from classic creamy pies to refreshing fruit tarts. Consider filling it with a luscious Chocolate Cream Pie for a double dose of chocolate heaven, or perhaps a zesty Key Lime Pie Recipe to balance the sweetness with a tart kick. For a truly indulgent experience, this crust also provides an excellent foundation for a rich Brownie Pie Recipe, marrying fudgy goodness with crisp chocolatey edges. The versatility of this crust knows no bounds, making it the perfect canvas for your culinary creativity.
Essential Ingredients for Your Perfect Oreo Pie Crust
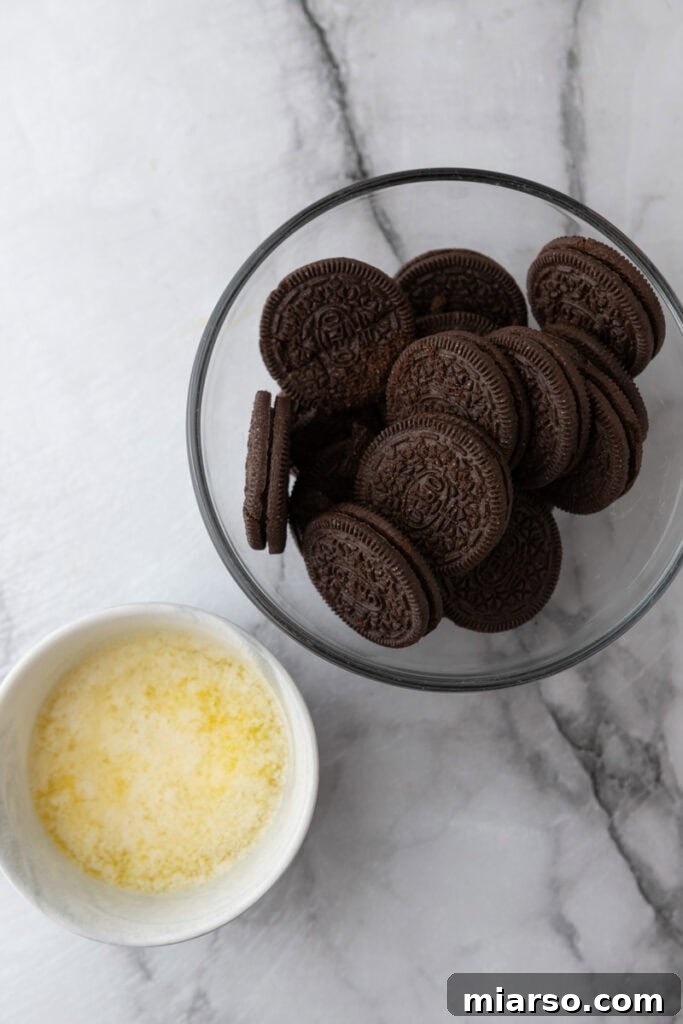
Crafting this homemade Oreo pie crust requires minimal ingredients, proving that extraordinary flavor doesn’t demand a lengthy shopping list. Each component plays a crucial role in achieving that perfect balance of crunch, flavor, and structure. You’ll find the precise measurements in the comprehensive recipe card located at the end of this page.
- Whole Oreo Cookies: These iconic chocolate sandwich cookies are the star of our crust. We use them whole, cream filling and all, to create the rich, dark chocolate base. The cream filling acts as a natural binder and adds extra sweetness and a subtle chewiness, eliminating the need for additional sugar in the crust. Stick to the classic chocolate-flavored Oreos for the most authentic and beloved taste, ensuring they are not “Thins” or “Mini” versions, as these may alter the texture and require butter adjustments.
- Unsalted Butter: Melted unsalted butter is the magical glue that binds our crushed Oreo crumbs together. It coats each crumb, creating a cohesive mixture that can be pressed into a sturdy crust. Using unsalted butter allows you to control the overall saltiness of your dessert, ensuring it harmonizes perfectly with your chosen filling. The warmth of the melted butter is key for proper distribution and absorption, leading to a perfectly formed crust.
Step-by-Step Guide: Crafting Your Easy Oreo Pie Crust
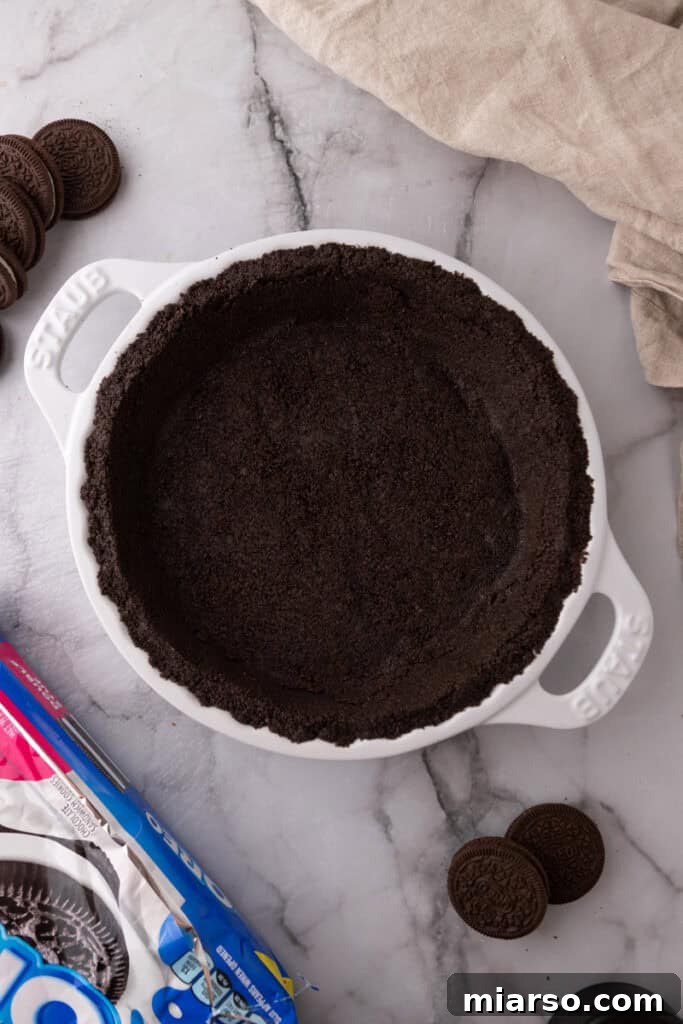
Creating your own irresistible Oreo pie crust is a surprisingly simple process that yields professional-quality results. Follow these clear, concise steps to achieve a perfectly formed base for your next dessert. Remember to consult the full recipe card at the end of this post for precise oven temperatures, baking times, and complete instructions.
- Prepare the Butter: Begin by melting the unsalted butter. Place it in a small microwave-safe bowl and heat in 20-second intervals until it is fully liquid. Alternatively, you can melt it gently on the stovetop over low heat. Ensure the butter is completely melted but not browned, as warm butter helps to evenly coat the cookie crumbs.
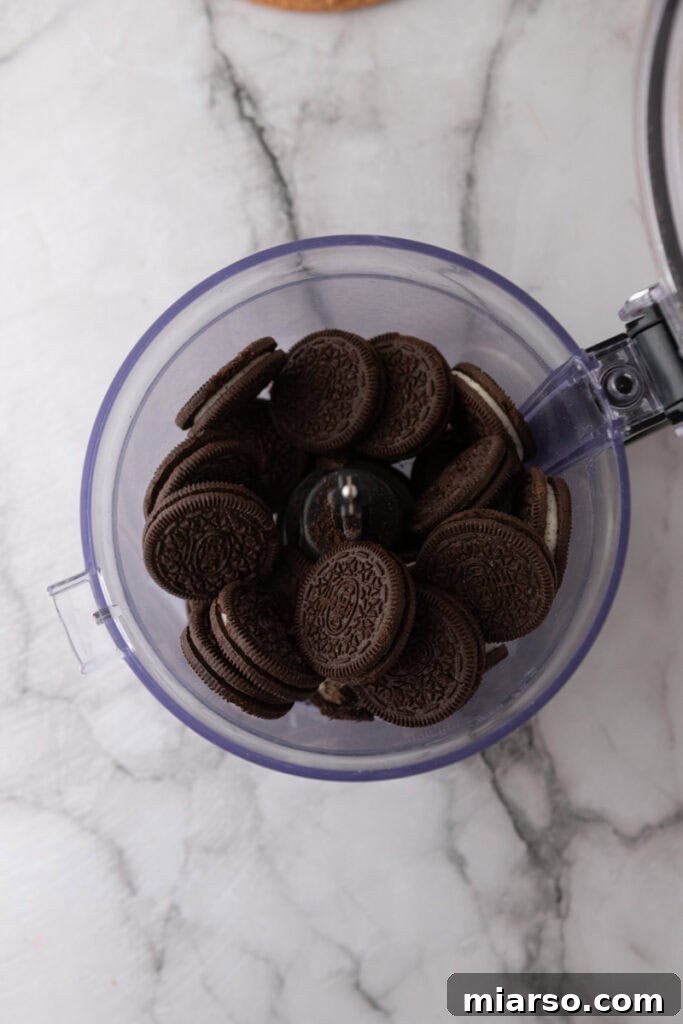
- Crush the Oreos: This step is crucial for the crust’s texture. For best results, use a food processor to pulse the whole Oreo cookies (including the cream filling) into fine, even crumbs. Process until the mixture resembles coarse sand or fine dirt. If you don’t have a food processor, place the cookies in a large zip-top bag, seal it, and use a rolling pin or the bottom of a heavy pan to crush them into uniform crumbs. The finer the crumbs, the more cohesive and sturdy your crust will be.
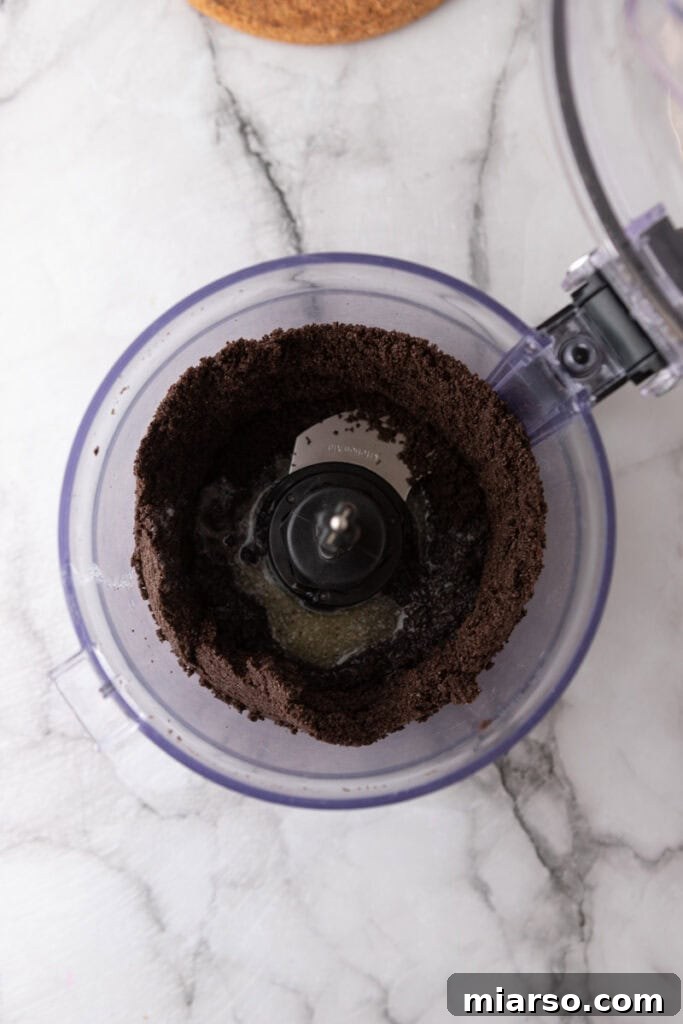
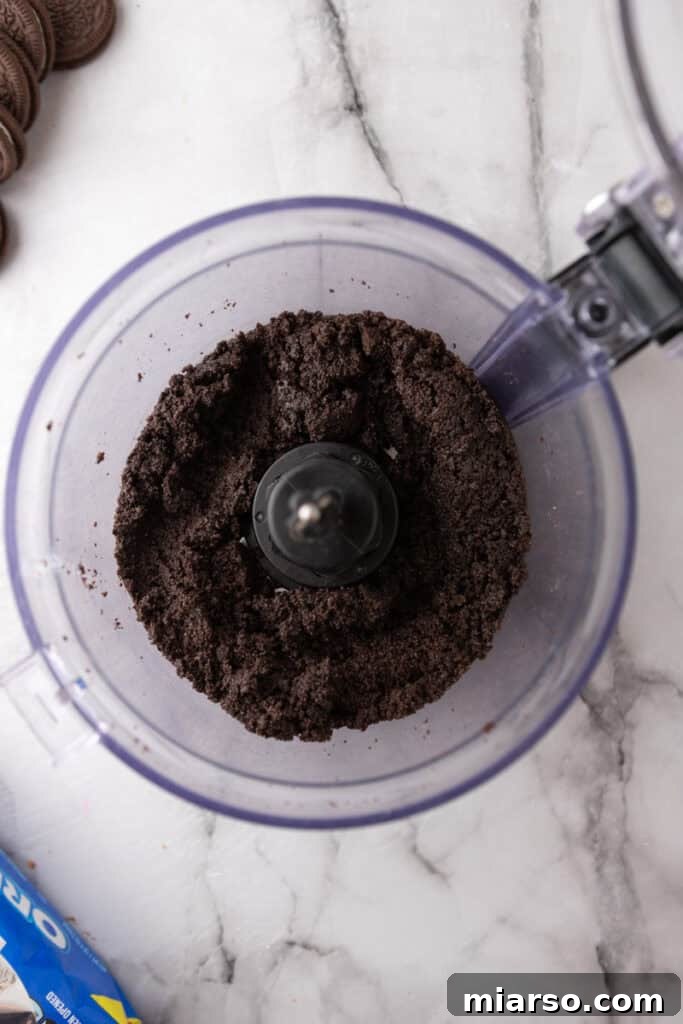
- Combine Ingredients: Transfer the finely crushed Oreo crumbs into a large mixing bowl. Pour the warm, melted butter over the crumbs. Stir thoroughly with a spoon or spatula until the entire mixture is evenly moistened. The crumbs should resemble wet sand, clumping together when squeezed gently in your hand. This ensures that the butter is fully integrated, which is essential for the crust to hold its shape.
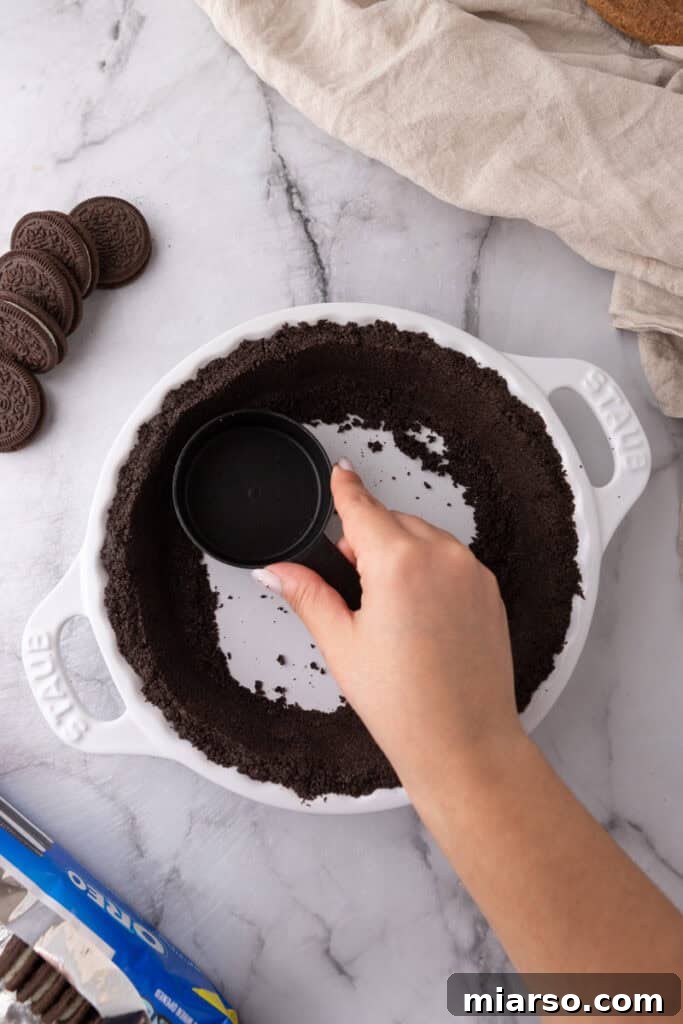
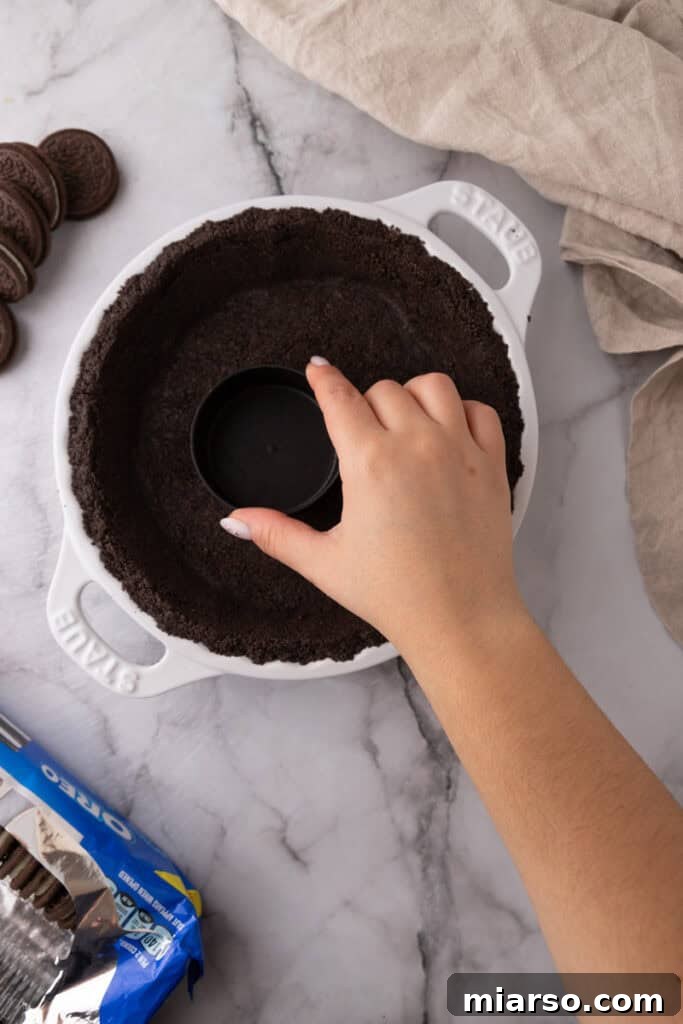
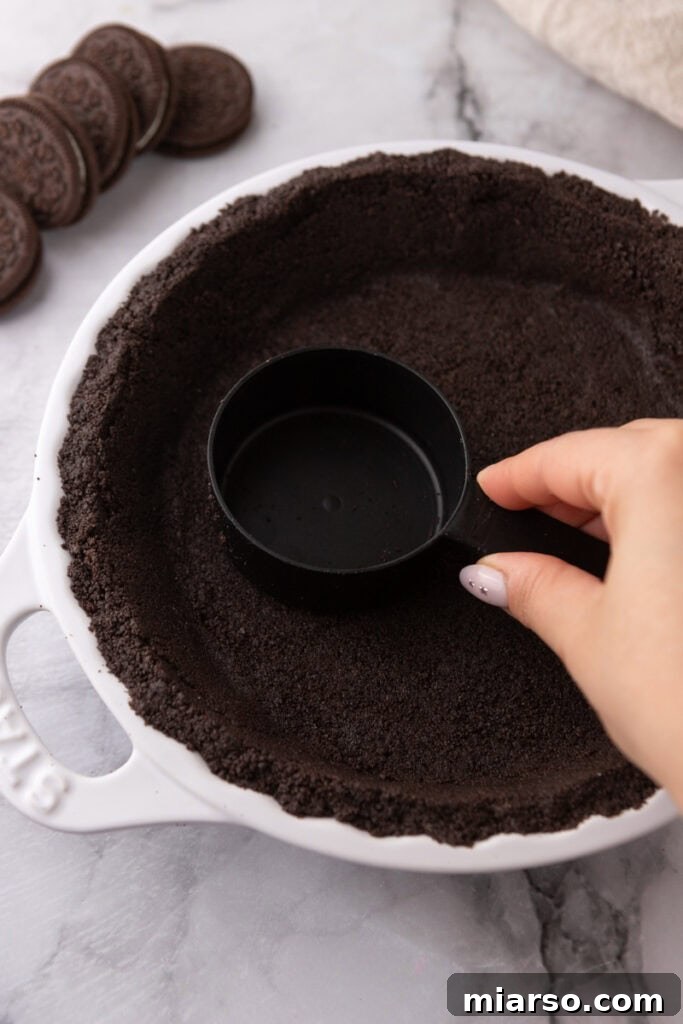
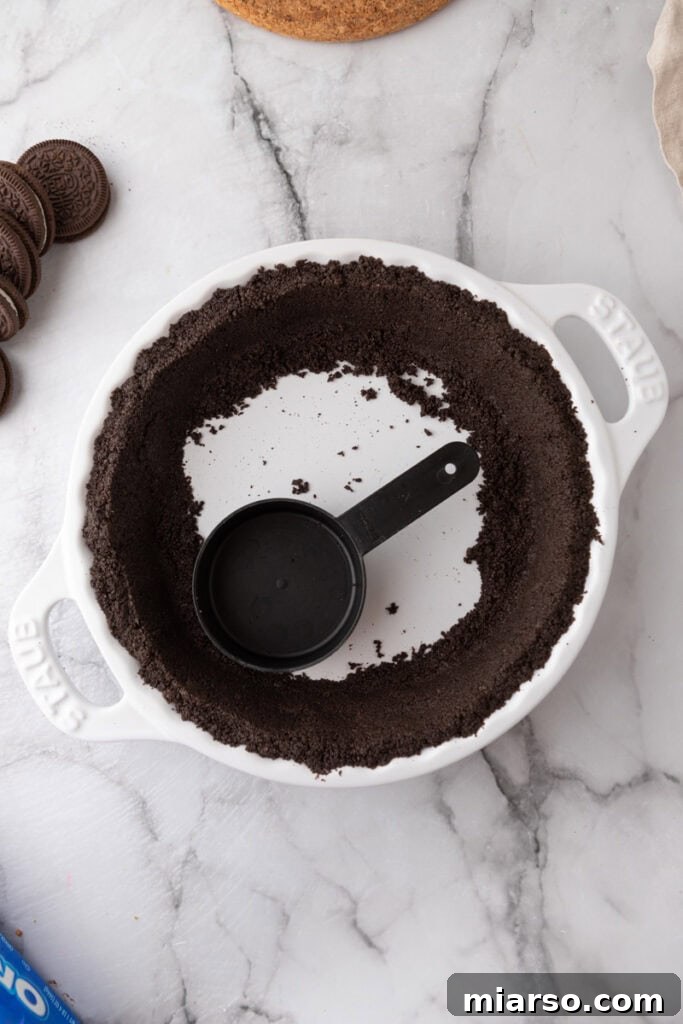
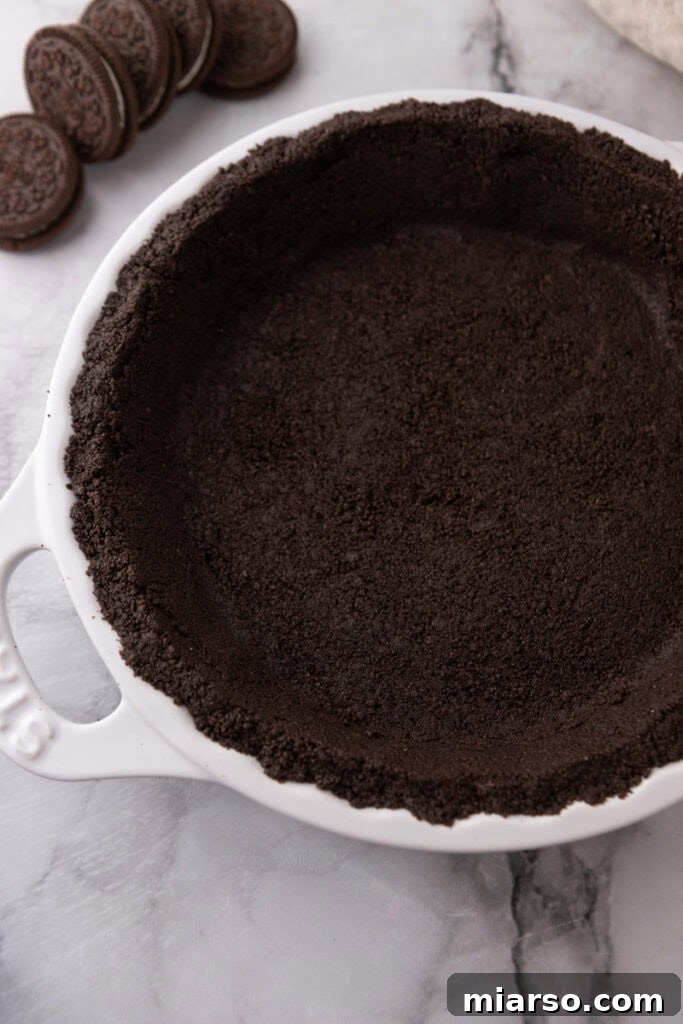
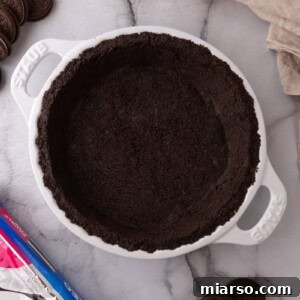
- Form the Crust: Gently pour about two-thirds of the moistened crumb mixture into a standard 9-inch pie plate. Begin by pressing the crumbs firmly up the sides of the pie plate. You can use the back of a spoon, a flat-bottomed measuring cup, or even your clean fingers to create an even, compact layer along the rim. Once the sides are formed, add the remaining crumb mixture to the base of the pie plate and press it down firmly and evenly. Ensure the entire crust is tightly packed to prevent crumbling when sliced.
- For a No-Bake Crust: If your dessert calls for a no-bake crust, place the prepared pie plate directly into the refrigerator or freezer. Chill for at least 30 minutes (or 15 minutes in the freezer) to allow the butter to solidify and the crust to set firmly. This method is perfect for chilled desserts like pudding pies, mousse pies, or ice cream cakes that you plan to serve the same day. It’s especially ideal for recipes like my no-bake chocolate pie recipe!
- For a Baked Crust: If your recipe requires a baked crust, preheat your oven to the temperature specified in your recipe (typically around 350°F / 175°C). Bake the formed crust for 8-10 minutes, or until it looks slightly set and you can detect a warm, toasted aroma from the cookies. Avoid over-baking, as Oreos can burn quickly. Once baked, remove the pie plate from the oven and allow the crust to cool completely on a wire rack before adding your filling. This step is crucial to prevent your filling from melting or becoming soggy.
Expert Tips & Tricks for the Best Oreo Pie Crust
- Optimal Butter Temperature: Ensure your melted butter is still warm when you mix it with the Oreo crumbs. Warm butter coats the crumbs more effectively, leading to a more evenly moistened mixture and a crust that holds together better. Avoid using cold or solidified butter, as it won’t bind as well.
- Fine Crumbs are Key: The secret to a sturdy, sliceable crust is finely ground chocolate sandwich cookies. The smaller and more uniform the crumbs, the better they will stick together when pressed. A food processor is ideal for achieving this consistency; otherwise, dedicate extra time to crushing them thoroughly with a rolling pin until they resemble fine sand.
- Balance the Sweetness: Oreo cookies are inherently sweet. If you desire to temper the sweetness or add a subtle contrast, consider adding a tiny pinch of fine sea salt to the crumb mixture, or simply use salted butter instead of unsalted. This enhances the chocolate flavor without making the crust overtly salty.
- Create a Moisture Barrier: For no-bake crusts, especially those with very wet or dairy-based fillings, prevent sogginess by brushing a thin layer of melted dark or white chocolate over the interior of the set crust. Let this chocolate layer harden completely before adding your filling. This creates a delicious, impermeable barrier.
- Press Firmly: When forming the crust in the pie dish, press the crumb mixture down very firmly. Use the flat bottom of a measuring cup, a clean glass, or the back of a spoon to compact the crumbs tightly into the bottom and up the sides. The harder you press, the more structural integrity your crust will have, preventing it from crumbling when sliced.
- Don’t Overbake (for baked crusts): If baking your crust, keep a close eye on it. Oreo crumbs can go from perfectly toasted to burnt very quickly due to their sugar content. Bake just until set and fragrant, usually 8-10 minutes at 350°F (175°C), then remove promptly.
- Cool Completely: For baked crusts, allowing it to cool completely on a wire rack before adding any filling is paramount. Adding a cold or warm filling to a hot crust will result in a soggy bottom, regardless of how well it was pressed or baked.
Why You’ll Absolutely Love Making This Oreo Pie Crust
This isn’t just another pie crust recipe; it’s a game-changer for your dessert creations. There are numerous compelling reasons why this homemade Oreo crust deserves a permanent spot in your recipe collection:
- Unmatched Flavor & Texture: It genuinely tastes so much better than any store-bought Oreo pie crust. The fresh, rich chocolate flavor combined with the perfect balance of crispness (when baked) or tender crumb (when no-bake) is simply superior.
- Incredibly Easy & Quick: This simple recipe only requires two basic ingredients and minimal effort. It’s perfect for busy schedules or when you need a delicious dessert base in a flash.
- Impressive Versatility: It’s a fantastic alternative to traditional graham cracker or shortbread crusts, allowing you to explore exciting new flavor profiles for your pies, cheesecakes, and bars. It pairs wonderfully with a vast array of fillings.
- A Must-Make for Oreo Fans: If you’re a true devotee of Oreo cookies, this crust is an absolute dream. It concentrates that iconic chocolate-and-cream flavor into a sturdy, delectable foundation for your favorite treats.
- Cost-Effective: Making your own crust at home is often more economical than purchasing pre-made versions, especially considering the superior taste and quality you achieve.
- Customizable: With this base recipe, you have the freedom to experiment with different Oreo flavors, adding a personal touch to your desserts.
And since we’re celebrating the magic of Oreos, you might also be tempted to explore these other delightful recipes: indulge in my decadent Crumbl Chocolate Oreo Cookies, whip up a batch of these effortless No-Bake Peanut Butter Oreo Bars, or satisfy your cookie cravings with these incredibly Chewy Oreo Chocolate Chip Cookies!
Frequently Asked Questions (FAQ) About Oreo Pie Crust
When is a No-Bake Oreo Crust the Best Choice?
The no-bake option is exceptionally versatile and perfect for desserts that are served chilled and don’t require any additional oven time. It yields a softer, chewier, and intensely chocolatey crust that melts in your mouth.
- Pudding Pies: These are classic no-bake desserts that set beautifully in the fridge. The soft texture of a no-bake Oreo crust perfectly complements creamy pudding fillings.
- Ice Cream Pies: An ice cream pie is a fantastic candidate for a no-bake crust. The chilled crust quickly firms up and provides a delicious contrast to the cold, smooth ice cream.
- Mousse or Whipped Cream Pies: Delicate, airy fillings like no-bake peanut butter pie, lemon mousse pie, or no-bake s’mores pie thrive with a no-bake crust. Its texture enhances the lightness of the filling and holds best when kept cold.
When is the Baked Oreo Crust Option Preferred?
Baking your Oreo crust provides a firmer, crispier texture with a slightly toasted, more complex flavor profile. This method adds extra structural integrity, making it ideal for certain types of fillings.
- Oreo Cheesecake Recipes: For rich, dense fillings like cheesecakes, a crunchier, pre-baked crust ensures it remains firm and provides a pleasant textural contrast, preventing it from becoming soggy under the heavy filling. You could even par-bake the crust for extra crispiness.
- Custard and Cream Pie Recipes: Pies such as pumpkin, banana cream, or coconut cream benefit greatly from a baked crust. The baking process helps to create a barrier against moisture from the custard, maintaining the crust’s crispness.
- Baked Pies with Delicate Fillings: Recipes for lemon tarts, French silk pie, or certain fruit tarts often rely on a baked crust to provide essential structural support for their delicate fillings throughout the baking process.
- Heavy or Wet Fillings: For baked dessert recipes, especially fruit pies with high moisture content, a pre-baked (or par-baked) crust forms a crucial barrier. This helps prevent the crust from absorbing too much liquid and becoming soggy during baking.
- Advance Preparation: Even for some no-bake desserts, baking the crust can add an extra layer of crunch and improve its ability to hold together, particularly if you’re making the pie a day or two ahead of serving.
Can I Experiment with Different Oreo Flavors?
Absolutely! This recipe is wonderfully adaptable. While classic Oreos provide a deep chocolate flavor, feel free to get creative and adventurous by trying other beloved Oreo cookie variations. Consider using Golden Oreos for a vanilla-flavored crust, Mint Oreos for a refreshing twist, Red Velvet Oreos for a vibrant hue and subtle cocoa flavor, or even Peanut Butter Oreos for an added nutty richness. If you opt for Double Stuf Oreos, you might want to slightly reduce the amount of melted butter by about half a tablespoon, as the extra cream filling already adds more moisture and binding power.
How Do I Store My Unfilled Oreo Pie Crust?
If you’ve prepared the crust but aren’t ready to add your filling, proper storage will keep it fresh. Keep the unfilled crust in its pie plate, wrap it tightly with plastic wrap or aluminum foil to prevent it from drying out, and store it at room temperature on your kitchen counter for up to 3-4 days. For extended freshness, you can also store it in the refrigerator for up to a week.
Can I Make This Crust Ahead of Time?
Yes, absolutely! This Oreo pie crust is an excellent candidate for make-ahead meal prep, saving you time when you’re ready to assemble your dessert. You can store the prepared crust (baked or no-bake, unfilled) in the refrigerator for up to a week. For longer storage, freeze it for up to one month. When freezing, ensure it’s tightly wrapped in several layers of plastic wrap and then a layer of aluminum foil to prevent freezer burn. There’s no need to thaw a frozen crust before using it; you can bake it directly from frozen (if your recipe requires a baked crust) or fill it and allow it to come to refrigerator temperature for no-bake desserts.
Why Do We Keep the Cream Filling in the Oreo Cookies?
Keeping the cream filling in the Oreo cookies is a key differentiator for this recipe and offers several benefits. The filling acts as an additional binding agent, helping the crushed crumbs stick together more effectively and reducing the need for excess butter. Beyond structure, it also contributes an extra layer of sweetness, a subtle vanilla-cream flavor, and a delightful chewiness that enhances the overall texture and richness of the crust.
Can I Make This Recipe Gluten-Free?
Certainly! To make this recipe gluten-free, simply ensure that you purchase and use certified gluten-free Oreo cookies. Most major grocery stores now carry gluten-free versions of Oreos, which perform identically to their traditional counterparts in this recipe. With this simple substitution, you can easily enjoy a delicious gluten-free Oreo pie crust.
How Can I Prevent a Soggy Oreo Pie Crust?
A soggy crust is a common concern, but easily avoidable! For baked crusts, ensure you bake it until just set and then cool it completely before adding any filling. For no-bake crusts, adequate chilling time is crucial. Additionally, for very moist or liquid fillings (like fresh fruit or some custards), consider brushing a thin layer of melted chocolate (dark or white) over the inside of the cooled or chilled crust. Let the chocolate harden to create a protective barrier that seals the crumbs and prevents moisture absorption.
What Equipment Do I Need to Make This Crust?
The beauty of this recipe is its simplicity, requiring minimal specialized equipment. You’ll need:
- A 9-inch pie plate (glass or ceramic works best)
- A food processor (highly recommended for fine crumbs, but optional)
- If no food processor: a large zip-top bag and a rolling pin or heavy object
- A microwave-safe bowl for melting butter (or a small saucepan)
- A large mixing bowl
- A spoon or spatula for mixing
- A flat-bottomed measuring cup or glass for pressing the crust
Oreo Pie Crust Recipe
Print Recipe
Ingredients
US Customary
- 24 Whole Oreo cookies (with filling)
- 5 tablespoons Unsalted butter (melted)
Instructions
Option 1: No-Bake Oreo Crust (Ideal for chilled desserts)
-
Using a food processor, pulse the 24 whole Oreo cookies into very fine crumbs. If you don’t have a food processor, place the cookies in a large zip-top bag and crush them thoroughly with a rolling pin until they resemble fine sand.24 Oreo cookies
-
In a medium-sized bowl, combine the finely crushed Oreo crumbs with the 5 tablespoons of warm, melted unsalted butter. Stir well with a spoon or spatula until all the crumbs are evenly coated and the mixture resembles wet sand.5 tablespoons unsalted butter
-
Pour approximately two-thirds of the mixture into a 9-inch pie plate. Press the crumbs firmly up the sides of the plate using the back of a spoon or the bottom of a measuring cup. Then, add the remaining mixture to the base of the pie plate and press it down into an even, compact layer.
-
Place the pie plate in the refrigerator for at least 30 minutes, or in the freezer for 15 minutes, to allow the crust to set firmly before adding your desired filling.
Option 2: Baked Oreo Crust (Ideal for cheesecakes, baked pies, or extra crispness)
-
Preheat your oven to 350°F (175°C).
-
Follow Steps 1-3 from the “No-Bake Oreo Crust” option above to crush the Oreos, mix them with the melted butter, and firmly press the mixture into a 9-inch pie pan.
-
Bake the crust in the preheated oven for 8-10 minutes, or until it appears slightly firm and you can smell a warm, toasty aroma. Be careful not to overbake, as Oreos can burn easily.
-
Remove the pie plate from the oven and allow the crust to cool completely on a wire rack before adding your filling. This step is essential to prevent your filling from melting or making the crust soggy.
Nutrition
Nutrition information is automatically calculated, so should only be used as an approximation.