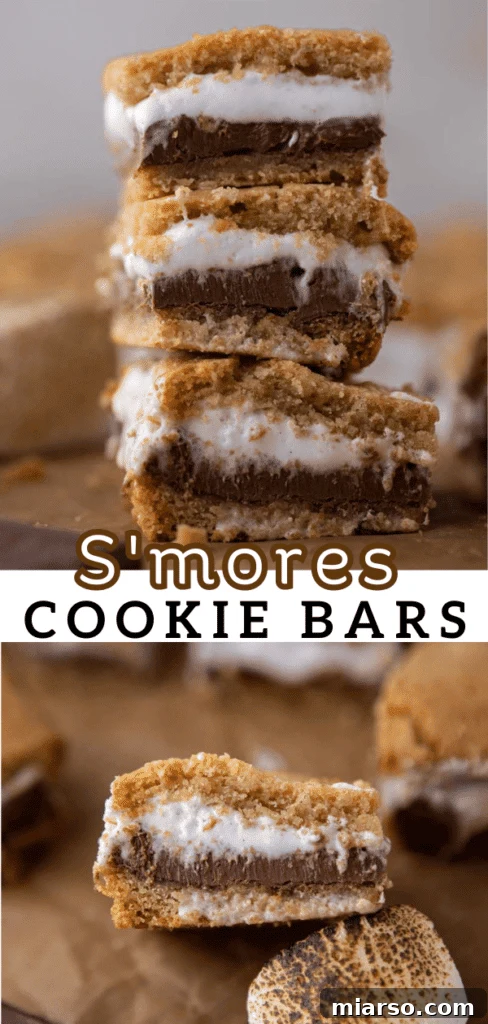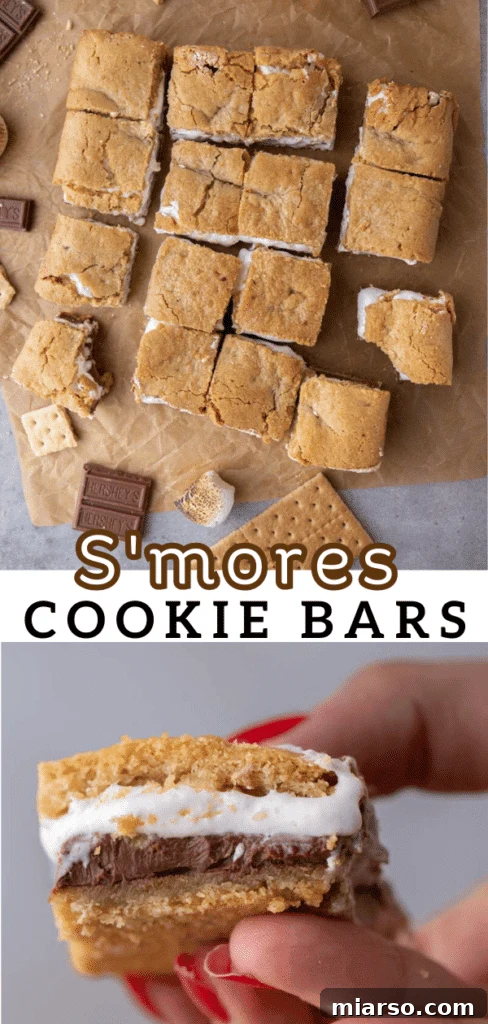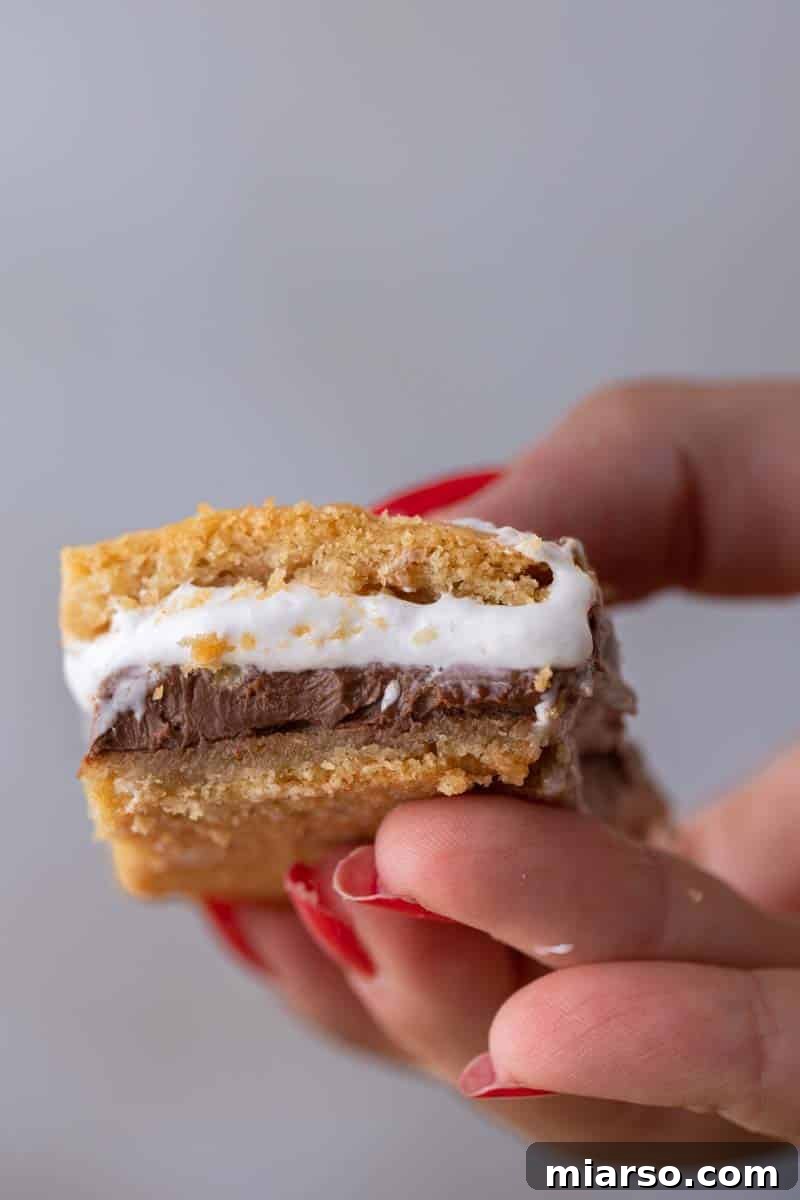
Prepare to embark on a culinary journey unlike any other with these extraordinary s’mores cookie bars. Imagine sinking your teeth into a perfectly soft, graham cracker-infused cookie dough, only to discover a warm, melty core of rich Hershey’s chocolate and luscious marshmallow fluff. This isn’t just a dessert; it’s a symphony of textures and flavors, capturing the essence of a classic campfire treat in a convenient, utterly irresistible bar format. Beyond their incredible taste, these bars boast a stunning visual appeal when sliced, making them an impressive addition to any dessert spread. It’s truly a win-win situation for any sweet tooth!
If you’re as passionate about s’mores as we are, you’ll love exploring some of our other delightful creations. Be sure to check out our Crumbl s’mores cookies, these decadent Starbucks s’mores bars, and our innovative s’mores brownie cookie recipe for more gooey goodness!
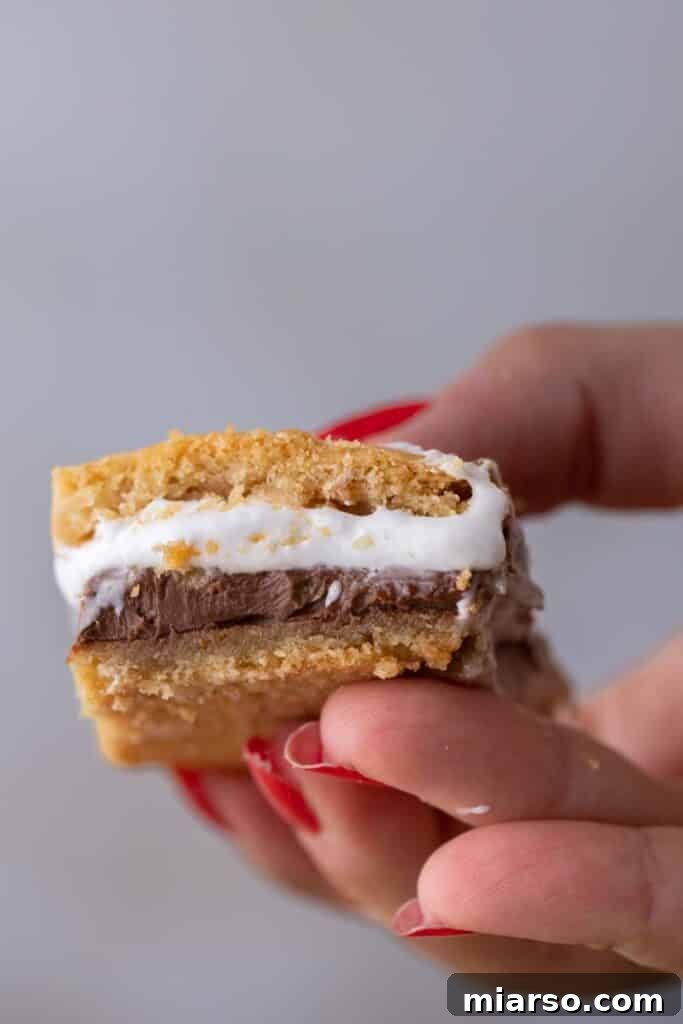
The Ultimate Classic S’mores Cookie Bar Recipe for Any Occasion
Who else agrees that s’mores are more than just a dessert; they’re a universal love language? From the crackling campfire tradition to sophisticated dessert innovations, anything s’mores-related holds a special place in our hearts. While traditional s’mores evoke images of warm summer nights, this incredible s’mores cookie bar recipe allows you to savor that iconic flavor profile any time of the year, right from the comfort of your kitchen. Forget the hassle of building a fire – these bars deliver all the gooey, chocolatey, graham cracker goodness you crave, perfectly encapsulated in a delightful, easy-to-manage square. It’s the perfect solution for satisfying those s’mores cravings whether it’s summer, fall, winter, or spring!
This recipe transforms the beloved campfire classic into a convenient, bakeable treat that’s perfect for sharing. With every bite, you’ll experience the nostalgic taste of toasted marshmallows, rich melted chocolate, and crisp graham crackers, all nestled within a soft, chewy cookie bar. It’s a dessert that transcends seasons and brings joy with its simple yet profound flavors.
Why These S’mores Cookie Bars Are a Must-Try
There are countless reasons why these homemade s’mores cookie bars deserve a prime spot in your baking repertoire. They’re not just delicious; they’re designed for convenience, flavor, and pure enjoyment. Here’s why you absolutely need to make this recipe:
- Effortless S’mores, Year-Round: No campfire? No problem! This recipe provides an incredibly easy and mess-free way to enjoy the classic taste of s’mores whenever the craving strikes. They’re perfect for indoor gatherings, potlucks, or simply a cozy night in. You can enjoy the warmth and comfort of this nostalgic treat regardless of the weather outside.
- Simple, Wholesome Ingredients: You won’t need to hunt for exotic items. This stuffed s’mores cookie bar recipe relies on a handful of basic, readily available pantry staples that you likely already have. We focus on quality ingredients that come together seamlessly to create an unforgettable dessert.
- Authentic Graham Cracker Flavor in Every Bite: To truly capture the essence of s’mores, we don’t just use graham crackers as a filling; we incorporate finely crushed graham cracker crumbs directly into the cookie dough. This ensures a deep, aromatic graham cracker flavor that permeates every layer of the bar, elevating the entire experience beyond a simple cookie and providing an extra layer of authentic taste.
- A Crowd-Pleaser for All Ages: Whether you’re baking for a family gathering, a birthday party, a school event, or just a treat for yourself, these s’mores bars are guaranteed to be a hit. The combination of soft cookie, rich melted chocolate, and irresistibly gooey marshmallow is universally loved, making them an ideal dessert for any occasion that calls for a delightful sweet treat.
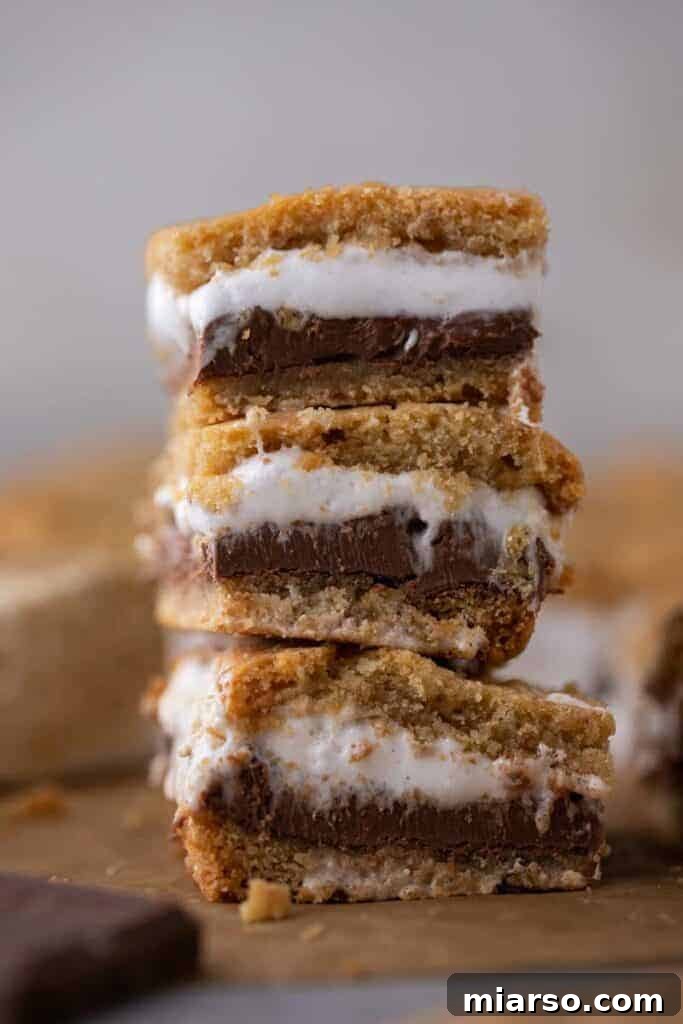
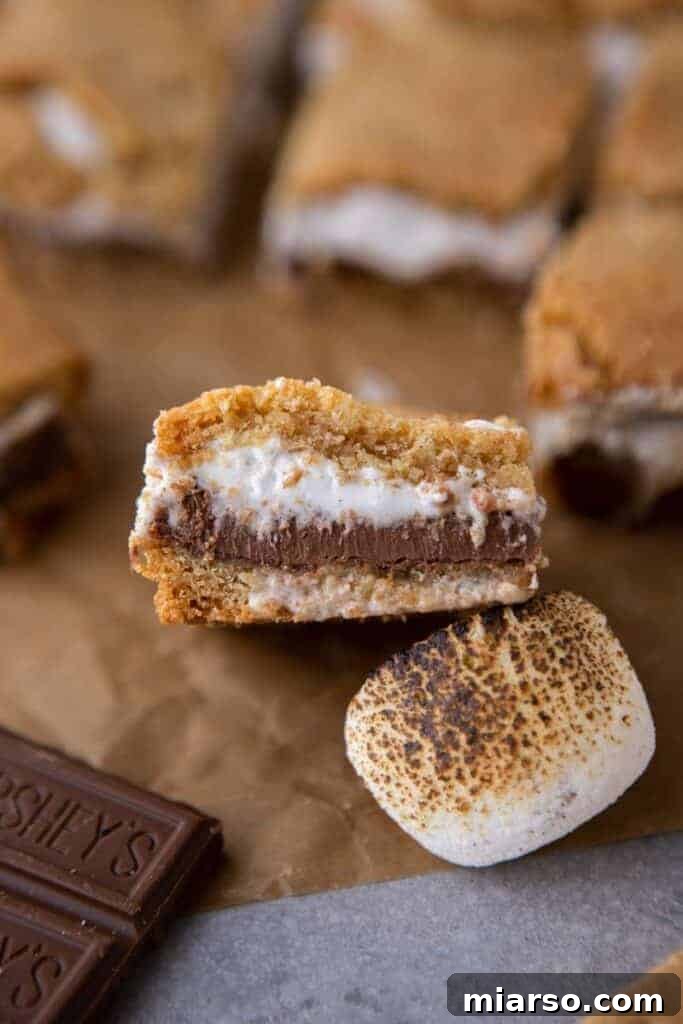
- Visually Stunning and Impressive: When sliced, these bars reveal beautiful, distinct layers of golden-brown cookie dough, rich melted chocolate, and fluffy white marshmallow. They’re as appealing to the eye as they are to the palate, making them look far more intricate and professional than they are to prepare. They’re sure to impress anyone who sees (and tastes) them!
- Minimal Prep and Easy Baking: Despite their layered appearance, the preparation for these bars is surprisingly quick and straightforward. With just about 15 minutes of active prep time, you can have them ready for the oven, making them a fantastic option for busy days or impromptu baking sessions.
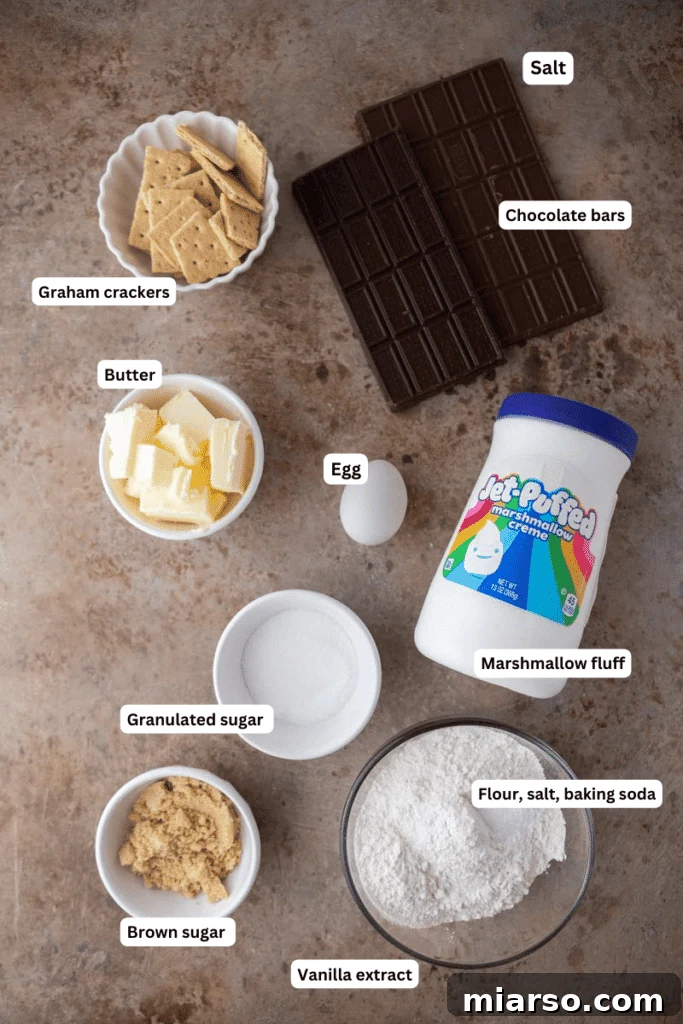
Key Ingredients for the Most Gooey Marshmallow, Chocolate, and Graham Cracker Cookie Bars
Crafting the perfect s’mores cookie bar starts with selecting the right ingredients. Each component plays a vital role in achieving that signature taste and texture. Below is a list of what you’ll need, along with insights into why each one is important. For precise, detailed measurements, remember to scroll down to the full recipe card.
- Butter: We recommend using softened butter, whether salted or unsalted. Softened butter creams beautifully with sugar, creating a light and airy base for our cookie dough. It’s crucial for achieving that tender, melt-in-your-mouth cookie texture. If using unsalted butter, adding a tiny pinch more salt to the dough will help balance the sweetness.
- Brown Sugar and Granulated Sugar: The strategic combination of both sugars is fundamental for the ideal cookie dough texture. Brown sugar adds essential moisture, contributes a rich, molasses-like depth of flavor, and ensures a wonderfully chewy interior. Granulated sugar, on the other hand, provides the necessary sweetness and helps create a slight crispness around the edges of the bars.
- Egg: A single large egg acts as the primary binder, holding all the cookie dough ingredients together. It also adds richness and helps with the structure and overall tenderness of the bar. Ensure it’s at room temperature for better emulsification with the butter and sugar, leading to a smoother dough.
- Vanilla Extract: Pure vanilla extract is a flavor powerhouse that enhances all the other sweet notes in the cookie dough. Its warm, aromatic profile adds a complex dimension that complements the chocolate and marshmallow beautifully.
- All-Purpose Flour: This forms the structural backbone of our cookie dough. For accurate measurement and the best texture, always spoon the flour into your measuring cup and then level it off with a straight edge to avoid packing it too densely, which can lead to dry or tough bars.
- Baking Soda: This leavening agent is key to helping the cookie dough rise slightly during baking, contributing to its soft and tender texture without making the bars too cakey. It reacts with the acidic brown sugar to create air pockets.
- Salt: A small but mighty ingredient, a pinch of salt is essential to balance the sweetness of the sugars and the rich flavors of chocolate and marshmallow. It genuinely brings out the full deliciousness of all the components. Don’t skip it!
- Graham Crackers: Beyond just the filling, finely crushed graham crackers are incorporated directly into the cookie dough. This is a game-changer for infusing every single bite with that unmistakable s’mores essence and adding a unique, subtle texture. You’ll typically need about 3.5 sheets of graham crackers to yield 1/2 cup of finely crushed crumbs for the dough.
- Hershey’s Bars: To truly honor the s’mores tradition and achieve that authentic flavor, we opt for classic Hershey’s milk chocolate bars. Their mild, creamy flavor melts perfectly when baked, creating a luscious, gooey layer that’s synonymous with campfire s’mores. However, feel free to experiment! Dark chocolate for a richer flavor, or even chopped milk chocolate chips, can be used to customize your gooey center.
- Marshmallow Crème (Marshmallow Fluff): This is the secret ingredient for an unbelievably gooey, soft, and melty marshmallow layer in the center of your bars. Unlike regular marshmallows, fluff creates a smooth, continuous layer that melts into a dreamy, pull-apart consistency, providing that “wow” factor when you slice into them. It’s truly essential for the signature texture of these bars.
- Optional: Chocolate Chips or Chunks: While not included in the primary recipe for simplicity and focus on the core s’mores experience, adding a handful of chocolate chips or chopped chocolate chunks to your cookie dough can provide an extra burst of chocolatey goodness. Feel free to stir them in if you desire an even richer chocolate presence throughout the cookie layers.
Expert Tips for Crafting the Perfect S’mores Cookie Bars
Achieving bakery-quality s’mores cookie bars at home is easier than you think, especially with a few insider tips. Pay attention to these details to ensure your bars turn out perfectly gooey, rich, and utterly delicious every time:
- Room Temperature Ingredients are Key: Always ensure your butter and egg are at room temperature before you begin mixing. This allows them to emulsify properly with the sugars, creating a smoother, more uniform cookie dough texture that bakes evenly and yields a tender crumb.
- Don’t Overmix the Dough: Once you add the flour and graham cracker crumbs, mix just until the ingredients are combined and no dry streaks remain. Overmixing can develop the gluten in the flour, leading to tough, rather than wonderfully tender, cookie bars. A gentle touch is best here.
- The Freezing Step is Crucial for Assembly: Freezing the top layer of cookie dough for a short period makes it much easier to handle and place precisely over the marshmallow and chocolate filling without it tearing or becoming too sticky. This step is vital for achieving those clean, distinct layers in your finished bars.
- Proper Pan Preparation Prevents Sticking: Lining your 8×8 inch baking pan with parchment paper is essential. Make sure to leave an overhang on all sides. This acts as a convenient sling, allowing you to easily lift the entire slab of baked bars out of the pan for clean slicing, preventing any sticking issues.
- Ensure Even Dough Layers: Take the extra moment to press both the bottom and top cookie dough layers evenly into the pan. This meticulous step ensures uniform baking, consistent texture throughout the bar, and a beautiful, balanced presentation when the bars are cut.
- Handle Marshmallow Crème Gently: When spreading the marshmallow crème over the chocolate, do so gently and aim for an even layer. If the layer is too thick or uneven, it might bubble excessively or ooze out during baking. A smooth, consistent layer is perfect for that signature gooey center.
- Cool Completely Before Slicing: This is perhaps the most important tip for achieving those picture-perfect slices with distinct layers of cookie, chocolate, and marshmallow. The bars will be very gooey and fragile when warm. Allowing them to cool fully (ideally for several hours, or even overnight if time permits) lets the chocolate and marshmallow set properly, making them much easier to cut cleanly and preventing a messy, crumbly outcome. Patience truly is a virtue here!
- Customize Your Chocolate Choice: While traditional Hershey’s bars provide an authentic s’mores flavor, don’t hesitate to personalize your bars. Experiment with different types of chocolate, such as dark chocolate for a richer, less sweet profile, or even white chocolate for a unique twist. You can also mix and match!
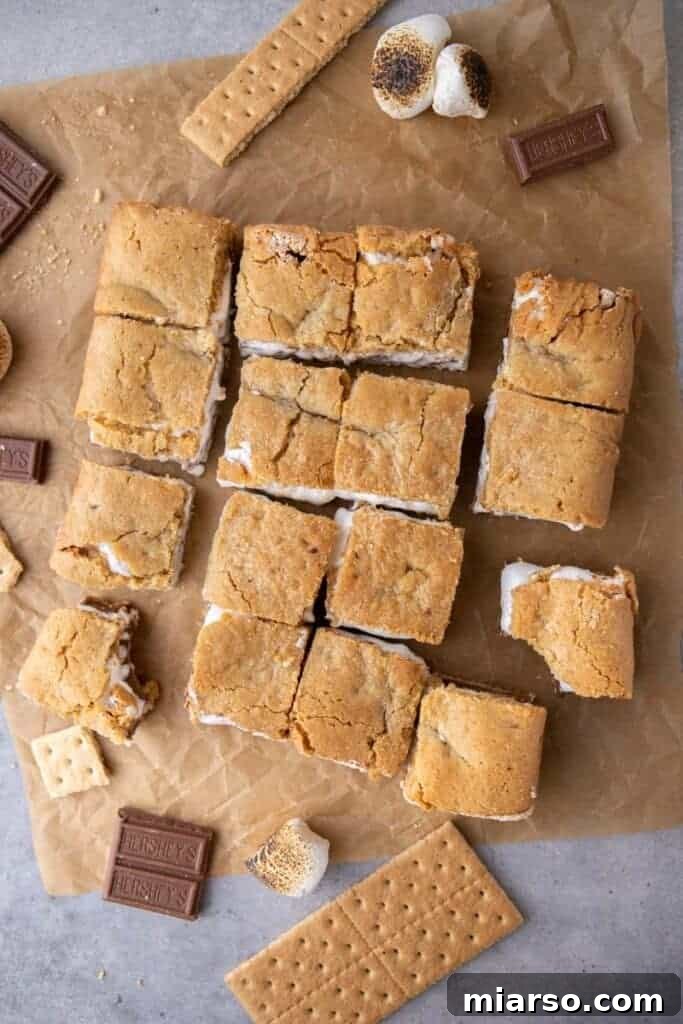
How to Make These Homemade S’mores Cookie Bars
Crafting these irresistible s’mores cookie bars is a straightforward process that yields incredibly rewarding results. Follow these detailed steps to create your own batch of this beloved dessert. Remember to consult the full recipe card below for exact measurements and further tips.
- Prepare Your Pan and Preheat Oven: Begin by preheating your oven to 350°F (175°C). Line an 8×8 inch baking pan with parchment paper, ensuring there’s an overhang on all sides. This will make removing the finished bars much easier. Set the prepared pan aside.
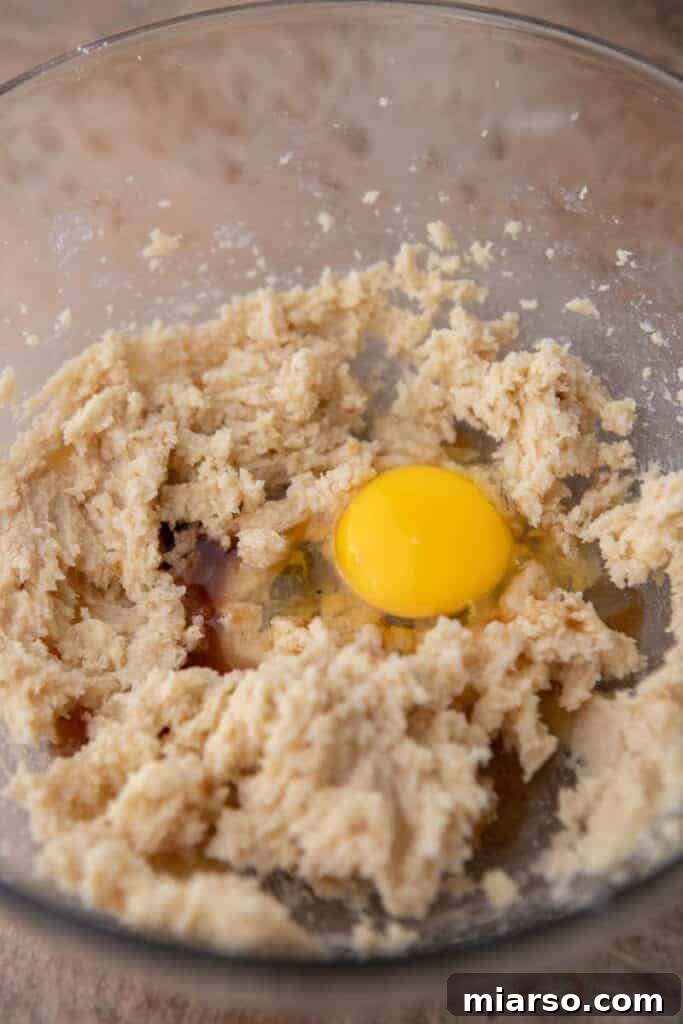
- Cream Wet Ingredients: In a large mixing bowl, cream together the softened butter with both the brown sugar and granulated sugar until the mixture is light, fluffy, and well combined. This usually takes about 2-3 minutes with an electric mixer, ensuring proper aeration for a tender dough.
- Incorporate Egg and Vanilla: Beat in the large egg and vanilla extract until they are fully incorporated into the butter and sugar mixture. Make sure to scrape down the sides of the bowl as needed to ensure everything is evenly mixed, preventing any pockets of unmixed ingredients.
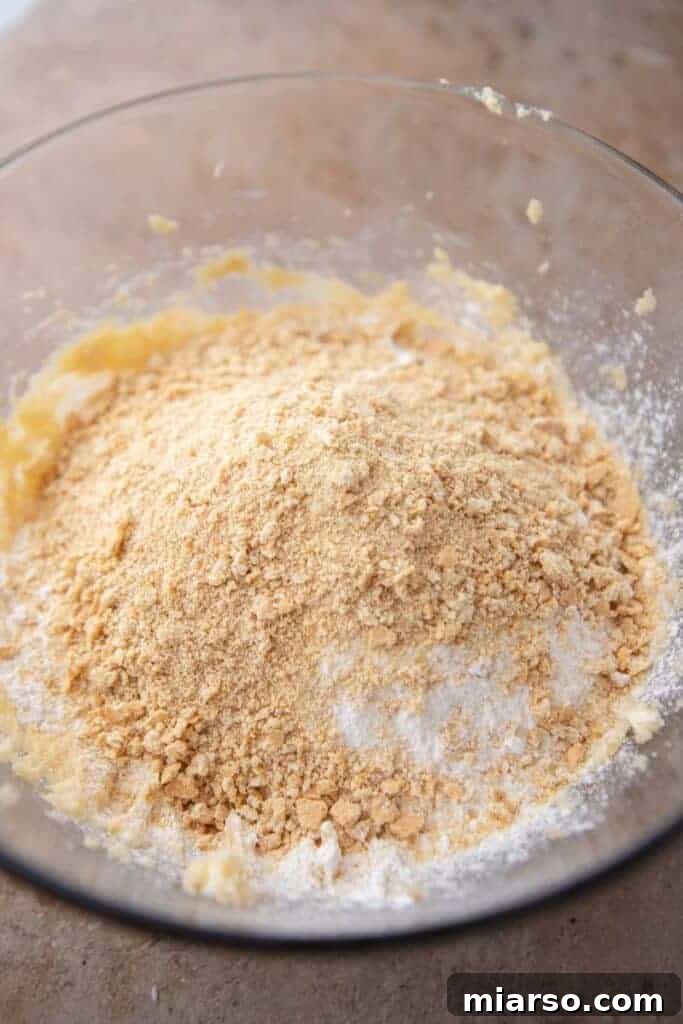
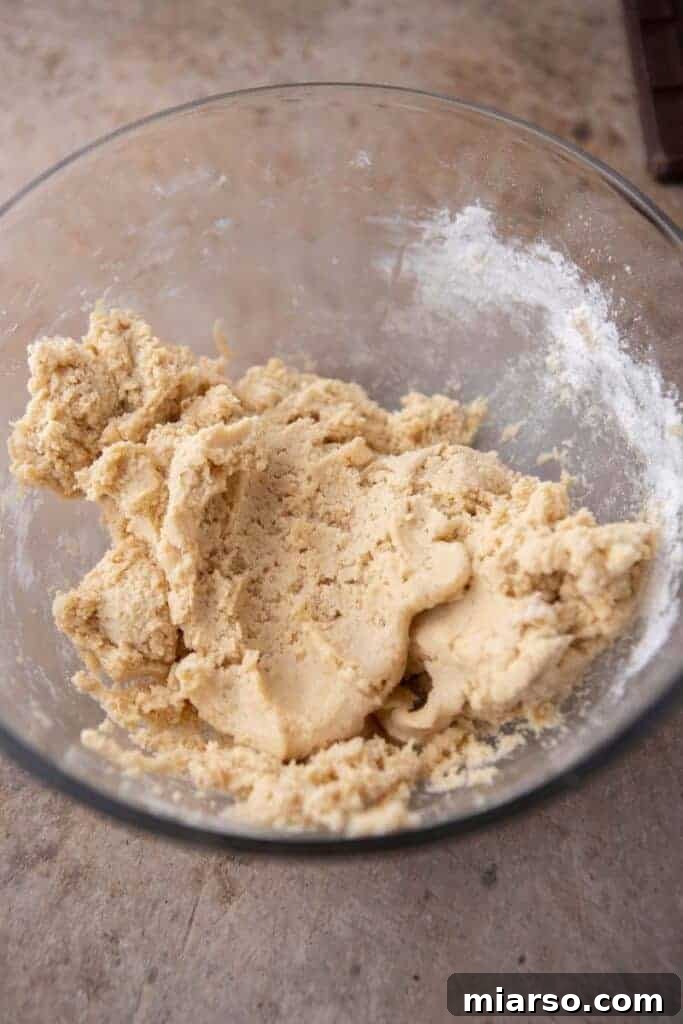
- Add Dry Ingredients: Gradually add the all-purpose flour, baking soda, salt, and the finely crushed graham crackers to the wet ingredients. Mix on low speed or by hand just until a soft, cohesive dough forms and no streaks of dry flour remain. It’s crucial not to overmix the dough, as this can lead to a tough texture.
- Divide and Freeze First Dough Layer: Divide the cookie dough roughly in half. Gently press one half of the dough evenly into the bottom of your prepared 8×8 inch pan. Using the parchment paper, carefully lift this pressed dough layer out of the pan and place it onto a separate baking sheet. Transfer this baking sheet to the freezer to chill for about 10-15 minutes while you prepare the remaining layers. This chilling step is essential for easy handling.
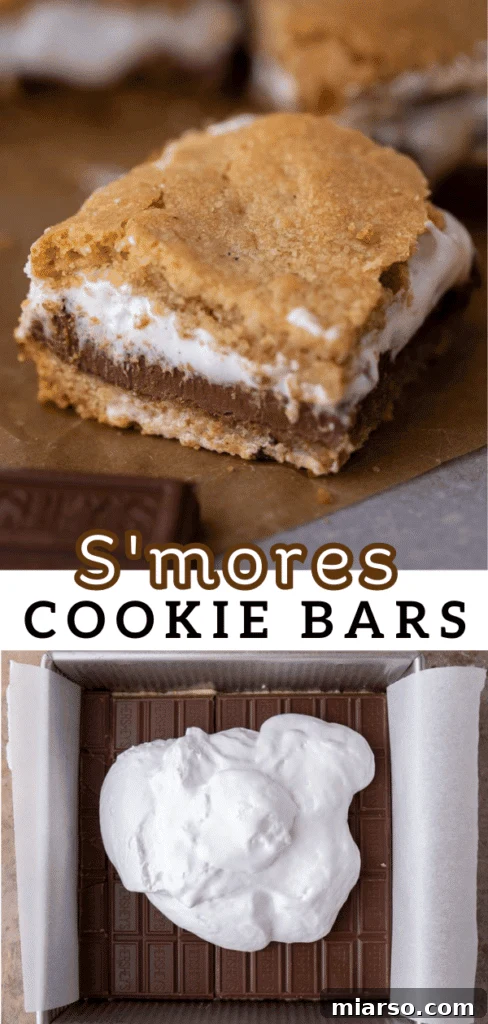
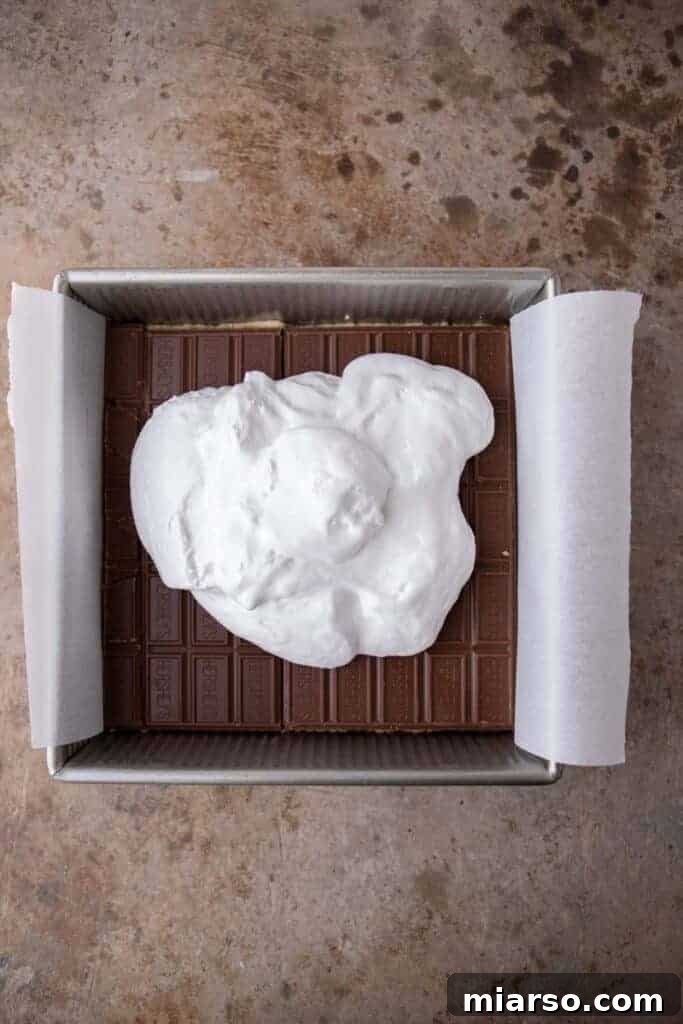
- Prepare Second Dough Layer and Fillings: Re-line your 8×8 inch baking pan with a fresh sheet of parchment paper, again ensuring an overhang. Press the remaining half of the cookie dough evenly into the bottom of this newly lined pan, forming the base of your bars. Once this bottom layer is in place, arrange the Hershey’s chocolate bars over the dough. You might need to break the chocolate into smaller pieces to cover the entire surface evenly. Then, gently spread the marshmallow crème (fluff) in an even layer over the chocolate, ensuring full coverage for maximum gooeyness.
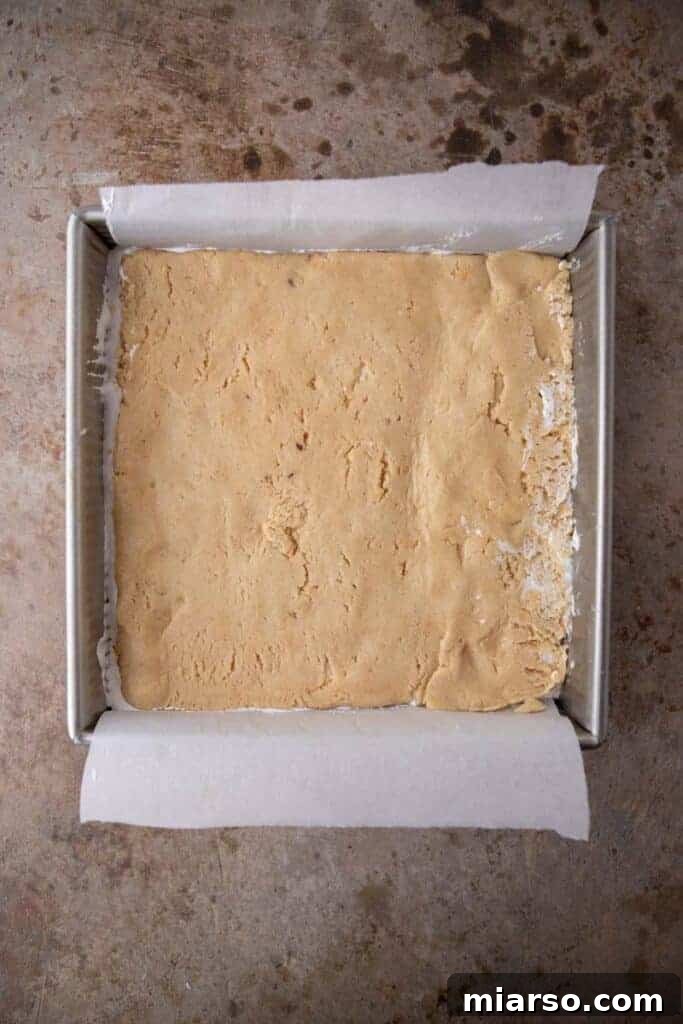
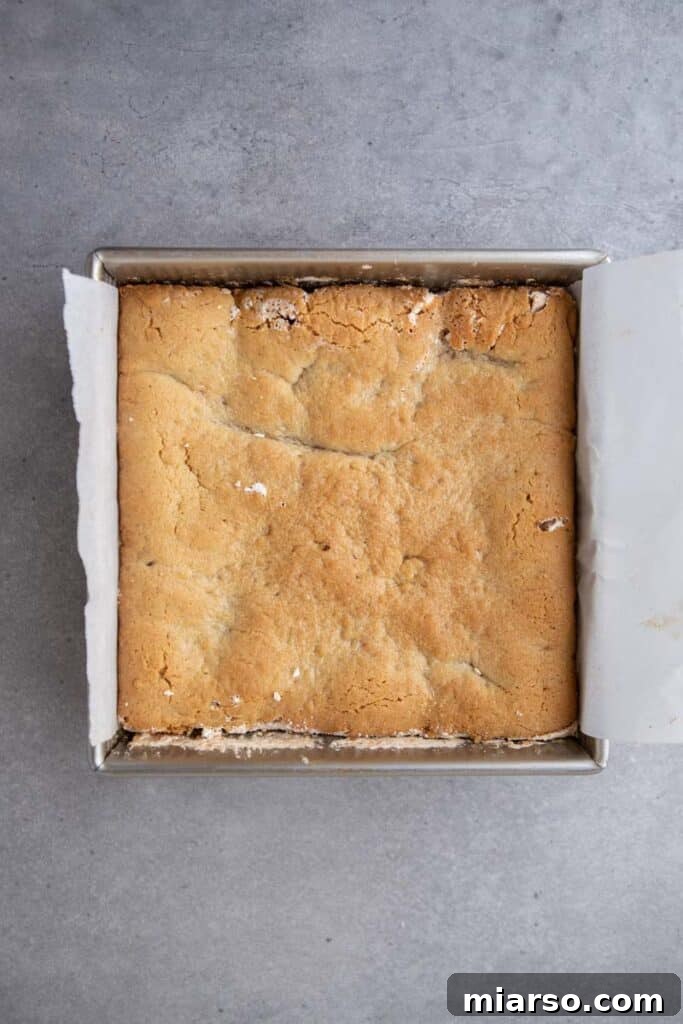
- Assemble and Bake: Carefully retrieve the chilled cookie dough layer from the freezer. Gently flip it over and place it on top of the marshmallow fluff layer, doing your best to keep it intact and centered. Once assembled, bake the bars in your preheated oven for approximately 25 minutes, or until the top is golden brown and the edges are set. The marshmallow will be bubbly and the chocolate perfectly melted.
- Cool Completely and Slice: This step is absolutely critical for beautiful results! Remove the bars from the oven and allow them to cool down completely in the pan on a wire rack. For the cleanest, most beautiful slices—like those shown in the images—it’s best to let them cool for several hours or even overnight. This allows the chocolate and marshmallow layers to set. Once fully cooled, use the parchment paper overhang to lift the entire slab of bars out of the pan, then slice them into individual squares with a sharp, warm knife. Enjoy your perfectly layered homemade s’mores cookie bars!
Frequently Asked Questions About S’mores Cookie Bars
How to Store These S’mores Cookie Bars
To keep your s’mores cookie bars wonderfully fresh and deliciously gooey, store them in an airtight container at room temperature. They will maintain their quality and texture for up to 3 days. For optimal results, avoid refrigerating them immediately after baking, as the cool temperatures can sometimes dry out the cookie dough and cause the chocolate to harden excessively. If your kitchen is particularly warm, or if you prefer a firmer texture, you can store them in the fridge; just be sure to let them come to room temperature before serving for the best possible flavor and texture experience.
Can I Freeze These Cookie Bars?
Absolutely! These s’mores cookie bars freeze exceptionally well, making them perfect for meal prepping desserts, stocking up for future cravings, or saving some for unexpected guests. You have a couple of convenient options for freezing: you can either wrap the entire cooled-down slab of baked bars tightly in several layers of plastic wrap, followed by a layer of aluminum foil, and freeze it for up to 2 months. Alternatively, for individual servings, first slice the cooled bars, then wrap each one individually in plastic wrap before placing them in an airtight container or a freezer-safe bag. Store them in the freezer for up to 2 months. When you’re ready to enjoy them, simply let them thaw at room temperature for a few hours. For an extra special treat, you can warm them slightly in the microwave for 10-20 seconds to restore that freshly baked, irresistibly gooey center.
Is There Any Way to Simplify This Recipe?
Yes, if you’re looking for an even quicker and easier route to s’mores cookie bar heaven, you can absolutely simplify this recipe by using premade cookie dough. Instead of preparing the graham cracker cookie dough from scratch, you can purchase store-bought chocolate chip cookie dough, sugar cookie dough, or even peanut butter cookie dough for the top and bottom layers. This shortcut significantly reduces prep time without compromising on the delightful s’mores experience. Simply press half of the store-bought dough into the pan, add your Hershey’s bars and marshmallow crème, and top with the remaining dough. It’s a fantastic hack for busy bakers or when you need a delicious dessert in a pinch!
Can I Use Regular Marshmallows Instead of Marshmallow Fluff?
While you certainly *can* use regular marshmallows, it’s important to understand that the texture and overall experience will be different. This recipe specifically calls for marshmallow fluff (or marshmallow crème) because it creates an incredibly smooth, uniformly gooey, and continuously melty layer that perfectly integrates with the chocolate when baked. Regular marshmallows, especially mini ones, will melt but tend to retain more of their distinct shape and become chewier and slightly firmer as they cool. They might also create more pockets of air and a less continuous layer within the bar. While still delicious in their own right and offering a different kind of chewy texture, you won’t achieve the same seamless, ultra-gooey “wow factor” cross-section that the fluff provides. If you prefer a chewier, more distinct marshmallow texture, regular marshmallows are an option, but for the true signature gooeyness of this specific recipe, marshmallow fluff is highly recommended to achieve the intended result.
S’mores Cookie Bars Recipe

S’mores Cookie Bars
These delicious s’mores cookie bars are filled with a luscious layer of melted chocolate bars and gooey marshmallow crème in the center, all encased in a soft, graham cracker-infused cookie dough. They are an irresistible treat perfect for any s’mores enthusiast!
Prep time: 15 minutes
Cook time: 25 minutes
Total time: 40 minutes
Yields: 16 servings
Ingredients
Cookie dough
- 1/2 cup Butter, softened (salted or unsalted)
- 1/3 cup Brown sugar
- 1/4 cup Granulated sugar
- 1 Egg (large, at room temperature)
- 1 tsp Vanilla extract
- 1 1/2 cup All-purpose flour
- 1/2 cup Graham crackers, finely crushed (about 3.5 sheets, for the cookie dough)
- 1/4 tsp Salt
- 3/4 tsp Baking soda
- 5 standard Hershey bars (or your preferred chocolate bars)
- 1 1/2 cup Marshmallow fluff (also known as marshmallow crème or marshmallow cream)
Instructions
- Preheat the oven to 350°F (175°C). Line an 8×8 inch baking pan with parchment paper, ensuring there’s an overhang on the sides for easy removal, and set it aside.
- In a large mixing bowl, cream together the softened butter, brown sugar, and granulated sugar until the mixture is light, fluffy, and well combined (2-3 minutes with an electric mixer).
- Add in the egg and the vanilla extract, mixing until just combined and fully incorporated. Scrape down the sides of the bowl as needed.
- To the wet mixture, add the all-purpose flour, finely crushed graham cracker crumbs, salt, and baking soda. Mix on low speed or by hand just until a soft, cohesive dough forms and no streaks of dry flour remain. Be careful not to overmix.
- Divide the cookie dough into two equal halves. Gently press one half of the dough evenly into the bottom of the prepared 8×8 inch pan. Using the parchment paper, carefully lift this pressed dough layer out and place it onto a separate baking sheet. Transfer this baking sheet to the freezer to chill for about 10-15 minutes.
- Re-line the 8×8 inch pan with a fresh piece of parchment paper. Press the remaining half of the cookie dough evenly into the bottom of this newly lined pan. Layer the standard Hershey bars over the dough, breaking them as needed to cover the entire surface. Evenly spread the marshmallow fluff over the chocolate layer.
- Carefully retrieve the chilled cookie dough layer from the freezer. Gently flip it over and place it on top of the marshmallow fluff layer, doing your best to keep it intact and centered.
- Bake in the preheated oven for 25 minutes, or until the top is golden brown and the edges are set.
- Remove the pan from the oven and allow the bars to cool completely on a wire rack before slicing. Cooling fully (several hours or overnight) is essential for clean, beautiful slices and for the layers to set properly. Once cooled, use the parchment paper overhang to lift the entire slab from the pan, then slice into 16 individual bars with a sharp knife.
Nutrition Information (Approximate Per Serving)
The following nutrition information is an approximation and should be used as a guideline. Actual values may vary based on specific ingredients, portion sizes, and preparation methods.
- Calories: 208 kcal
- Carbohydrates: 32g
- Protein: 3g
- Fat: 8g
- Saturated Fat: 5g
- Polyunsaturated Fat: 1g
- Monounsaturated Fat: 2g
- Trans Fat: 0.2g
- Cholesterol: 26mg
- Sodium: 321mg
- Potassium: 45mg
- Fiber: 1g
- Sugar: 17g
- Vitamin A: 192 IU
- Calcium: 45mg
- Iron: 1mg
Enjoyed this recipe? Share your thoughts and photos with us! We love hearing from you. Leave a comment below!
Shop This Recipe
This post may contain affiliate links, meaning that at no additional cost to you, I will earn a small commission from qualifying purchases you make through these links. This helps support our work in bringing you delicious recipes!
Loved These S’mores Cookie Bars? Don’t Forget to Pin for Later!